
Replacing an old, damaged, or outdated door can significantly improve a room’s aesthetic, energy efficiency, and functionality. Whether it’s an interior passage door or a sturdy exterior entry, a DIY door replacement is a manageable project with the right tools and a clear plan.
Removing existing door and frame (if needed)
- Safety First: Clear the area around the door. If it’s an exterior door, ensure you have a temporary barrier ready.
- Remove the Old Door Slab: Use a hammer and punch to tap out the hinge pins from the bottom up. Carefully lift the door off its hinges. If the door is heavy (like an exterior door), get a helper.
- Remove Trim (Casing): Use a utility knife to score along the edges where the trim meets the wall to prevent tearing the drywall. Then, use a pry bar and a shim (or thin piece of wood) to gently pry the trim away from the wall. Start at the bottom and work your way up. Keep the trim intact if you plan to reuse it.
- Remove the Old Frame (Jamb): Locate the nails or screws securing the door frame to the wall studs (usually behind the trim). Carefully pry the jamb loose from the rough opening. You might need to cut the nails with a reciprocating saw if they’re stubborn. Remove the head jamb (top piece) and the two side jambs.
Preparing the rough opening
- Clear Debris: Once the old door and frame are removed, clean out the rough opening. Remove any leftover nails, shims, or debris.
- Inspect Framing: Check the surrounding wall studs for any rot, damage, or looseness. Make any necessary repairs to ensure a solid structure for your new door.
- Verify Dimensions: Measure the height, width, and depth of the rough opening. Compare these measurements to the specifications of your new pre-hung door. The rough opening should be slightly larger than the door frame (typically 1/2 to 1 inch wider and 1/2 inch taller) to allow for shimming and leveling.
Installing hinges & test-hanging the door
(This section primarily applies if you’re installing a new door slab into an existing frame, or if your new door is not pre-hung.)
- Mark Hinge Locations: Place your new door slab next to the existing frame (or mark according to manufacturer instructions for a new frame). Transfer the hinge locations from the frame to the door edge, ensuring they align perfectly.
- Mortise for Hinges: Use a sharp chisel or a router with a hinge template to create shallow recesses (mortises) for the hinges on both the door edge and the door frame. The hinge leaf should sit flush with the surface.
- Attach Hinges: Screw the hinges securely to the door edge first.
- Test-Hang: With a helper, position the door in the frame and attach the hinges to the frame. Test the door’s swing and ensure it opens and closes smoothly without binding. Adjust mortises or hinge placement if necessary.(For pre-hung doors, the hinges are already attached to the door slab and frame, simplifying this step to just setting the unit in the rough opening.)
Cutting lockset and drilling pilot holes
(This section primarily applies to a new door slab or a pre-hung unit without pre-drilled holes.)
- Mark Lockset Location: Typically, a lockset is positioned 34-36 inches from the bottom of the door slab. Mark the center point for the main bore hole.
- Drill Bore Hole: Use a hole saw (usually 2-1/8 inches for the main knob/lever) to drill through the face of the door. Drill halfway from one side, then finish from the other to prevent splintering.
- Drill Latch Bore Hole: Drill a smaller hole (usually 1 inch) into the edge of the door, aligning with the center of the main bore hole. This is for the latch mechanism.
- Mortise for Latch Plate: Chisel out a shallow mortise for the latch faceplate so it sits flush with the door edge.
- Mark Strike Plate Location (on Frame): Once the door is hung, close it and mark the exact position where the latch bolt hits the door frame.
- Mortise & Drill for Strike Plate: Chisel out a mortise for the strike plate on the door frame, and drill a hole for the latch bolt to enter.
- Drill Pilot Holes: Always drill pilot holes before screwing in any hardware to prevent splitting the wood.
Shimming, leveling & testing the swing
(This is the most critical step for a pre-hung door installation.)
- Position the Pre-Hung Unit: Carefully set the entire pre-hung door unit into the rough opening.
- Shim the Hinge Side: Start by shimming behind the top hinge on the hinge side of the frame. Use pairs of shims (tapered pieces of wood) to create a tight fit and ensure the jamb is plumb (perfectly vertical) and flush with the wall.
- Level the Head Jamb: Place shims under the head jamb (top piece) if needed to ensure it’s level.
- Shim the Latch Side: Add shims behind the latch side of the jamb, particularly around the strike plate area, to ensure the frame is straight and the door closes evenly.
- Test Swing & Gaps: Open and close the door repeatedly. Check the gaps around the door (the “reveal”) – they should be consistent (about 1/8 inch) all the way around. Ensure the door doesn’t bind or stick. Adjust shims as needed until the door swings freely and latches smoothly.
- Secure the Frame: Once the door swings perfectly, drive long finishing screws through the shims (and jamb) into the wall studs behind each hinge and at the strike plate. Don’t over-tighten, as this can bow the jamb.
Installing trim and hardware
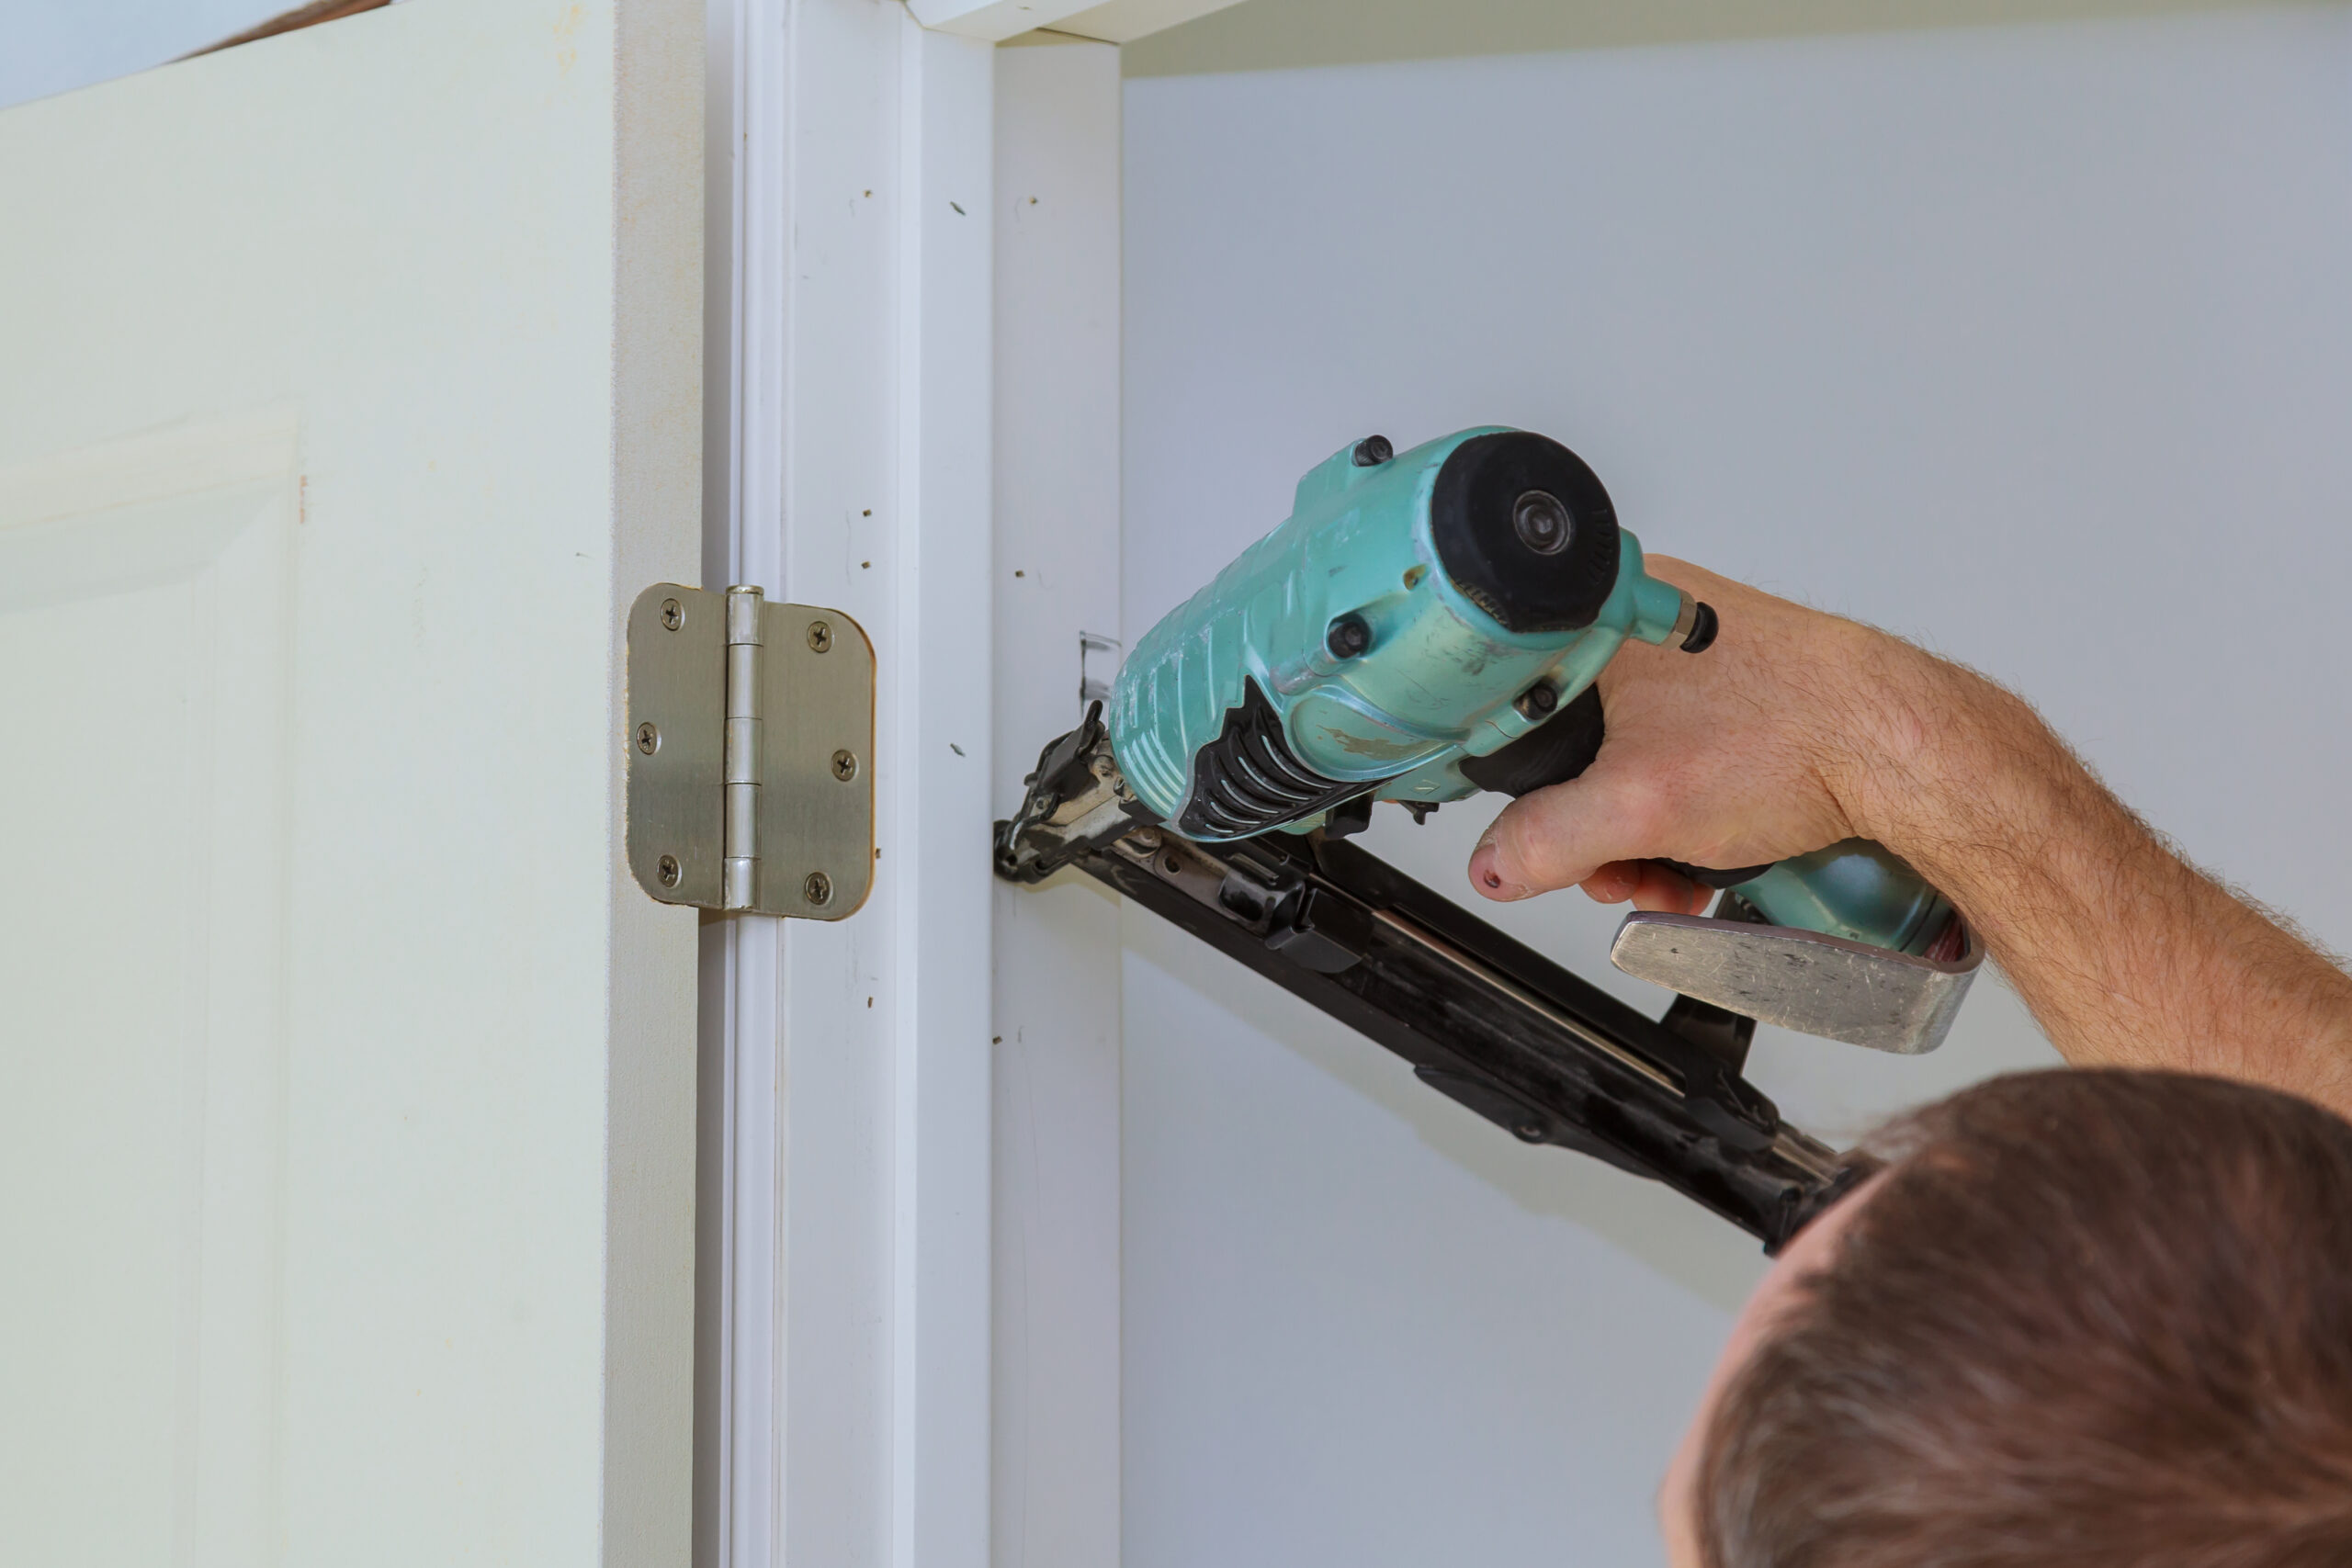
- Install Interior Trim (Casing): Nail the casing around the door frame on the interior side. Use finishing nails and a nail gun for efficiency. Miter cuts (45-degree angles) are typically used at the corners for a clean look.
- Install Exterior Trim (if applicable): For exterior doors, install appropriate exterior trim (e.g., brick molding). Use exterior-grade nails and caulk all joints for weatherproofing.
- Install Hardware: Install the lockset (knobs/levers and latch mechanism), ensuring it operates smoothly. Install any deadbolts, peep holes, or other accessories.
Exterior vs interior door considerations
- Exterior Doors:
- Heavier & More Secure: Typically solid core or steel/fiberglass for security and insulation.
- Weatherproofing: Require proper sealing, weatherstripping, and a threshold for protection against the elements.
- Threshold: Often comes integrated with a pre-hung exterior door frame.
- Security Hardware: Often include deadbolts and stronger locking mechanisms.
- Interior Doors:
- Lighter: Often hollow core, designed for privacy and aesthetics rather than security or weather resistance.
- Simpler Installation: Less concern for weatherproofing or heavy security.
Pro tips: sealing, weatherstripping, finish options
- Sealing (Exterior Doors): After installing the frame, apply a continuous bead of exterior-grade caulk around the entire perimeter of the frame where it meets the exterior sheathing/siding to prevent water intrusion.
- Weatherstripping (Exterior Doors): Ensure your new exterior door has effective weatherstripping around the perimeter of the door slab to create an airtight seal when closed, crucial for energy efficiency in Los Angeles.
- Finish Options:
- Painting: Common for both interior and exterior doors. Use high-quality paint formulated for doors.
- Staining: For wood doors, a beautiful stain can highlight the natural grain. Apply a clear topcoat for protection.
- Insulation (Exterior): For optimal energy efficiency, consider adding low-expansion foam insulation into the gap between the door frame and the rough opening after shimming and before trimming.
LA Home Builders provides comprehensive door replacement services for homes across Los Angeles. Whether you’re upgrading an interior passage door or enhancing your home’s security and curb appeal with a new exterior entry,