
Vinyl siding is a popular choice for home exteriors due to its durability, low maintenance, and wide range of colors and styles. For many homeowners, installing vinyl siding can be a rewarding DIY project that significantly boosts curb appeal and weather protection. While it requires patience and precision, following a step-by-step guide can help you achieve a professional-looking finish. This comprehensive guide will walk you through the entire process, from gathering your tools to the final cleanup.
Tools and materials you’ll need
Before you start, ensure you have all the necessary tools and materials. Having everything ready will make the installation process smoother and more efficient.
Tools:
- Safety Gear: Safety glasses, work gloves, dust mask.
- Measuring & Marking: Tape measure, chalk line, level (4-foot and 2-foot), pencil.
- Cutting Tools:
- Tin Snips/Utility Snips: For straight cuts on vinyl.
- Vinyl Siding Cutter: A specialized tool that makes clean, quick cuts.
- Circular Saw with Fine-Tooth Blade (or plywood blade reversed): For faster, precise cuts on panels (use reversed blade to prevent melting/chipping).
- Jigsaw: For intricate cuts around obstacles.
- Fastening Tools:
- Hammer: For hand nailing.
- Nail Gun (Pneumatic or Cordless): A siding nailer is highly recommended for speed and consistent depth.
- Air Compressor and Hose (if pneumatic nailer).
- Other Essential Tools:
- Snap Lock Punch: Used to create tabs for locking siding into place, especially under windows or at the top of a wall.
- Siding Removal Tool (Zip Tool): Handy for unlocking and removing siding panels, useful for repairs or adjustments.
- Caulk Gun: For applying sealant where needed (though minimal caulk is used with vinyl siding).
- Utility Knife: For scoring and breaking panels.
- Pry Bar: For removing old siding and trim.
- Ladder or Scaffolding: For safe access to all areas of the wall.
Materials:
- Vinyl Siding Panels: Calculate your square footage and order an additional 5-10% for waste, mistakes, and future repairs.
- Starter Strips: Essential for the first course of siding.
- Outside Corner Posts: For external corners.
- Inside Corner Posts: For internal corners.
- J-Channel: Used around windows, doors, and for utility penetrations, and to finish the top edge of siding if no F-channel is used.
- F-Channel (Optional): Can be used at the top of the wall to receive the soffit or the last course of siding.
- Soffit and Fascia (if replacing): Match or complement your siding.
- Undersill Trim (Finish Trim): Used under windows and at the top of the wall for the final course.
- House Wrap (Water-Resistive Barrier – WRB): Recommended for moisture protection and air sealing.
- Galvanized Roofing Nails: 1.5 to 2 inches long with a large head (3/8 inch or more). They must be corrosion-resistant. Aluminum or stainless steel nails can also be used.
- Exterior-Grade Caulk: For sealing around penetrations (windows, doors, pipes).
Preparation: Measuring and removing old siding
Proper preparation is key to a smooth and successful vinyl siding installation.
- Measure Your Home:
- Measure the length of all walls and multiply by their height to get the total square footage.
- Subtract the square footage of windows and doors.
- Add 5-10% for waste and future repairs.
- Measure the linear feet for all trim accessories: starter strips, corner posts, J-channel, undersill trim.
- Remove Old Siding and Obstructions:
- Carefully remove all existing siding down to the sheathing. Use a pry bar or shingle scraper.
- Remove all old nails, staples, and fasteners. A magnetic sweep can help collect fallen nails from the ground.
- Remove or temporarily relocate any exterior fixtures like downspouts, light fixtures, hose bibs, and dryer vents.
- Inspect and Repair Sheathing:
- Inspect the underlying sheathing (plywood or OSB) for any signs of water damage, rot, softness, or pest infestation.
- Replace any compromised sections of sheathing. Ensure the new sheathing is securely fastened to the studs.
- Install House Wrap (Water-Resistive Barrier):
- Starting from the bottom of the wall, apply a water-resistive barrier (WRB), such as house wrap, directly over the sheathing.
- Overlap horizontal seams by at least 6 inches and vertical seams by 12 inches. Secure with cap nails or staples.
- Ensure the house wrap is properly integrated with any existing or new window and door flashing, creating a continuous water-shedding plane. This is a critical step for preventing moisture intrusion.
- Prepare Openings (Windows and Doors):
- Ensure windows and doors are properly flashed before installing siding. Integrated flashing or self-adhering flashing tapes should be applied around the window/door frames to prevent water intrusion behind the siding.
- You may need to add furring strips around windows and doors to bring their surfaces flush with the new siding plane, or to accommodate the J-channel.
Installing starter strips and corner posts
These are the foundational elements that define the layout and secure the edges of your vinyl siding.
- Establish a Level Line:
- Find the lowest point of your existing foundation or wall that will be covered by siding.
- From this point, measure up a few inches (typically 1 inch higher than the top of your starter strip). Use a long level and a chalk line to snap a perfectly level line around the entire perimeter of the house. This will be your guide for the top of the starter strip.
- Install Starter Strips:
- Align the top edge of the starter strip with your level chalk line.
- Nail the starter strip into the wall studs, leaving about 1/16 to 1/8 inch gap at the ends where it meets corner posts to allow for expansion.
- Important Nailing Rule: Vinyl siding and its accessories are designed to “float” to allow for thermal expansion and contraction. Never nail vinyl siding or accessories tight. Leave about 1/32 inch (the thickness of a dime) between the nail head and the siding’s nail hem. Nails should be centered in the nailing slot.
- Install Outside Corner Posts:
- Outside corner posts cap the exterior corners of the house.
- Cut the top of the corner post so it aligns with the top edge of your wall (or a pre-determined soffit line). The bottom of the corner post should extend about 1/4 inch below the bottom of the starter strip to guide water away.
- Nail the corner post at the very top of the uppermost slot, and then in the center of the remaining slots every 8-12 inches. Remember the loose nailing rule.
- Ensure the corner post is perfectly plumb (vertical) using a level.
- Install Inside Corner Posts:
- Inside corner posts are fitted into the interior corners.
- Similar to outside corners, cut the top to align with the wall top and extend the bottom 1/4 inch below the starter strip.
- Nail at the top of the uppermost slot, then in the center of the remaining slots every 8-12 inches, leaving nails loose. Ensure it’s plumb.
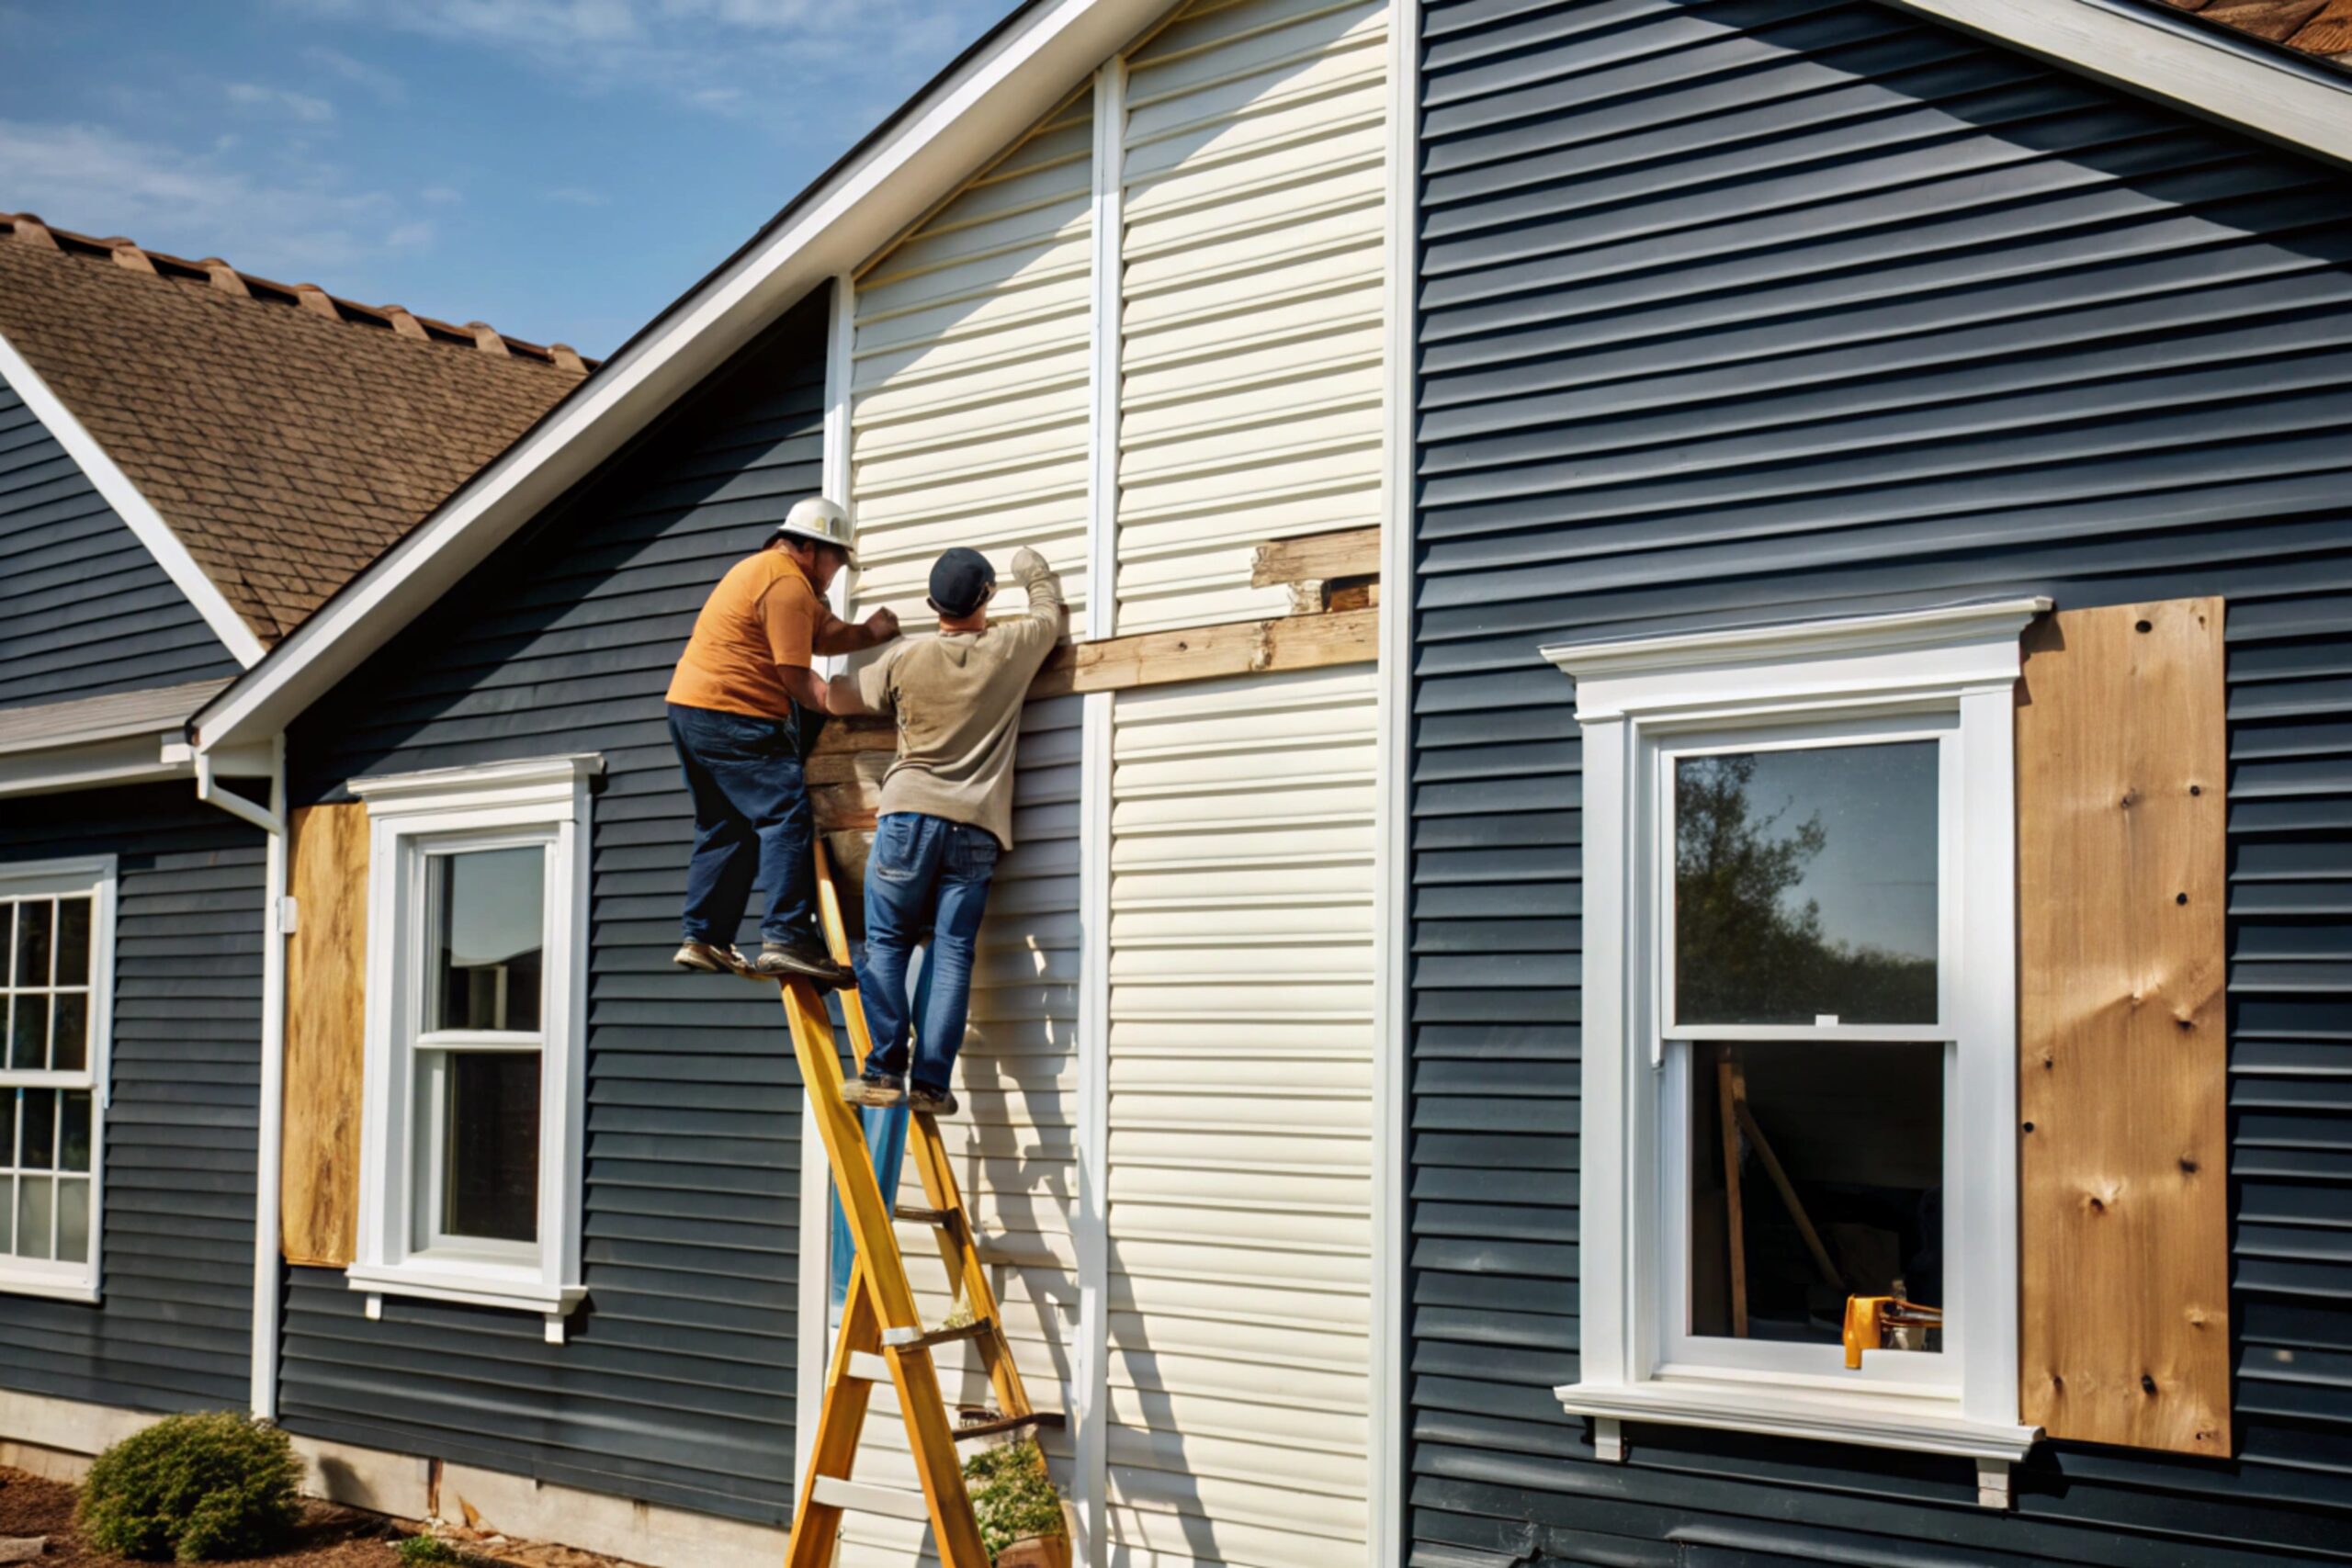
Attaching the panels: Best practices
This is where the bulk of the siding installation happens. Precision in cutting and nailing is crucial.
- Start the First Course:
- Take the first panel of siding and snap its bottom edge into the starter strip.
- Ensure the panel extends into the J-channel or corner posts by about 1/4 inch to allow for expansion.
- Nail the panel into the wall studs, typically every 16 inches on center (o.c.), centering the nails in the slots. Remember the loose nailing rule (do not nail tight!).
- Nailing Technique Refinement:
- Centering: Always center the nail in the middle of the nailing slot. This allows the siding to expand and contract freely.
- Loose Nailing: Leave a gap (about 1/32 inch, or a dime’s thickness) between the nail head and the siding’s nail hem. The panel should be able to slide freely side-to-side once nailed.
- Straight: Drive nails straight, not at an angle.
- One Nail Per Stud: Generally, one nail per stud is sufficient.
- Overlap Panels:
- When joining two panels horizontally, overlap them by at least 1 inch (or as per manufacturer instructions).
- Ensure the overlap faces away from the most common viewing angle (e.g., if standing in the front yard, have the overlap face left to right so you don’t see the cut edge).
- Do not nail through the overlap itself.
- Stagger Joints:
- To achieve a professional appearance and ensure structural integrity, stagger the vertical joints of successive courses.
- Avoid creating “H” patterns or stacking joints directly above each other. Offset joints by at least 2-3 feet between courses.
- Work Up the Wall: Continue installing courses, ensuring each panel locks securely into the panel below it before nailing. Use your level or chalk lines to verify that courses remain straight and level as you work your way up the wall.
Dealing with doors, windows, and trim
These areas require careful cutting and J-channel installation for a watertight and aesthetically pleasing finish.
- Install J-Channel Around Openings:
- Install J-channel around all four sides of windows and doors.
- Sill (Bottom): Cut the J-channel to fit and install it first along the bottom sill.
- Jambs (Sides): Install J-channel along the vertical sides. At the top and bottom of these vertical pieces, cut and fold the flanges to create a neat, mitered look that directs water away.
- Head (Top): Install J-channel along the top head. Cut small “ears” or “notches” into the J-channel at the corners and bend them down into the vertical J-channel to create a water diversion. This is crucial to prevent water from running behind the siding.
- Cutting Panels for Openings:
- Measure the exact size of the opening.
- When a siding panel reaches a window or door, mark and cut the panel to fit snugly into the J-channel.
- Under-Sill Trim/Utility Trim: For panels directly under a window or at the very top of a wall (where a full panel might not fit), you’ll need to cut the siding panel to the correct height.
- After cutting the panel, use a snap lock punch to create small “tabs” along the cut edge.
- Install undersill trim (also called finish trim) along the bottom of the window sill or at the top of the wall.
- These tabs on the cut siding panel will then “snap” into the undersill trim, securing the panel without visible nails.
- Around Utility Penetrations:
- For electrical boxes, hose bibs, or dryer vents, use J-channel to trim around them neatly.
- Cut the siding panels to fit snugly around the J-channel.
- Use exterior-grade caulk to seal around the penetration where the J-channel meets the pipe or fixture.
Finishing touches and cleanup
The final steps ensure a complete, professional look and a clean work area.
- Install Top Course (F-Channel or Undersill Trim):
- At the very top of the wall, where the siding meets the soffit or roofline, the final course of siding often needs to be cut lengthwise (ripped) to fit.
- If using F-channel, install it along the soffit/fascia line. The top edge of the final siding panel will snap into the F-channel.
- Alternatively, install undersill trim along the top of the wall, and use the snap lock punch to create tabs on the top edge of your final siding panel, which then snap into the undersill trim.
- Install Soffit and Fascia (if applicable): If you’re replacing these, ensure they are installed after the top course of siding is in place or properly integrated with the J-channel/F-channel.
- Inspect All Fasteners: Walk around the house and visually inspect all installed siding. Ensure all nails are centered in their slots and are not driven too tightly or too loosely. Correct any issues.
- Caulk Where Necessary: Apply exterior-grade caulk sparingly. Vinyl siding is designed to move, so don’t caulk overlaps or full panel joints. Only caulk around penetrations where accessories meet pipes, conduits, or fixtures to provide a watertight seal.
- Cleanup:
- Pick up all scrap pieces of vinyl siding. Many areas have vinyl recycling programs.
- Thoroughly sweep the ground around your home, especially using a magnetic sweeper, to collect all fallen nails. This is crucial to prevent tire punctures or injuries.
- Reinstall any light fixtures, downspouts, or other exterior elements that were removed.
DIY vs Hiring a professional
While installing vinyl siding is a popular DIY project, it’s important to honestly assess your skills, time, and the complexity of your home.
DIY installation:
- Pros: Significant cost savings on labor. Satisfaction of doing it yourself.
- Cons:
- Time-Consuming: Can take weeks or even months for a homeowner, especially if working weekends.
- Physically Demanding: Involves working on ladders, often in various weather conditions.
- Learning Curve: Achieving a professional finish (straight lines, neat corners, proper expansion gaps) requires practice. Mistakes can lead to poor aesthetics or, worse, water intrusion.
- Specialized Tools: Requires investing in or renting specialized siding tools.
- Safety Risks: Falls from ladders are a major concern.
- Warranty Issues: Manufacturer warranties may be voided if installation is not performed according to their strict guidelines by a certified installer.
Hiring a professional:
- Pros:
- Expertise and Experience: Professionals have the knowledge, training, and experience to install siding correctly and efficiently.
- Speed: They can complete the job much faster, minimizing disruption to your home life.
- Quality Workmanship: A reputable contractor will ensure a flawless, long-lasting, and watertight installation.
- Warranty: Professional installations typically come with a labor warranty from the contractor, in addition to the material warranty.
- Safety: They have the right safety equipment and practices.
- Permits and Codes: They handle necessary permits and ensure compliance with local building codes.
- Cons:
- Higher Cost: The primary drawback is the significant labor cost.
Recommendation: For single-story homes with simple architectural lines, a seasoned DIYer might successfully tackle vinyl siding. However, for multi-story homes, complex architectural features, or if you’re unsure about any step of the process, hiring a licensed and experienced siding contractor is generally the safer and more reliable option to ensure a high-quality, long-lasting result.