


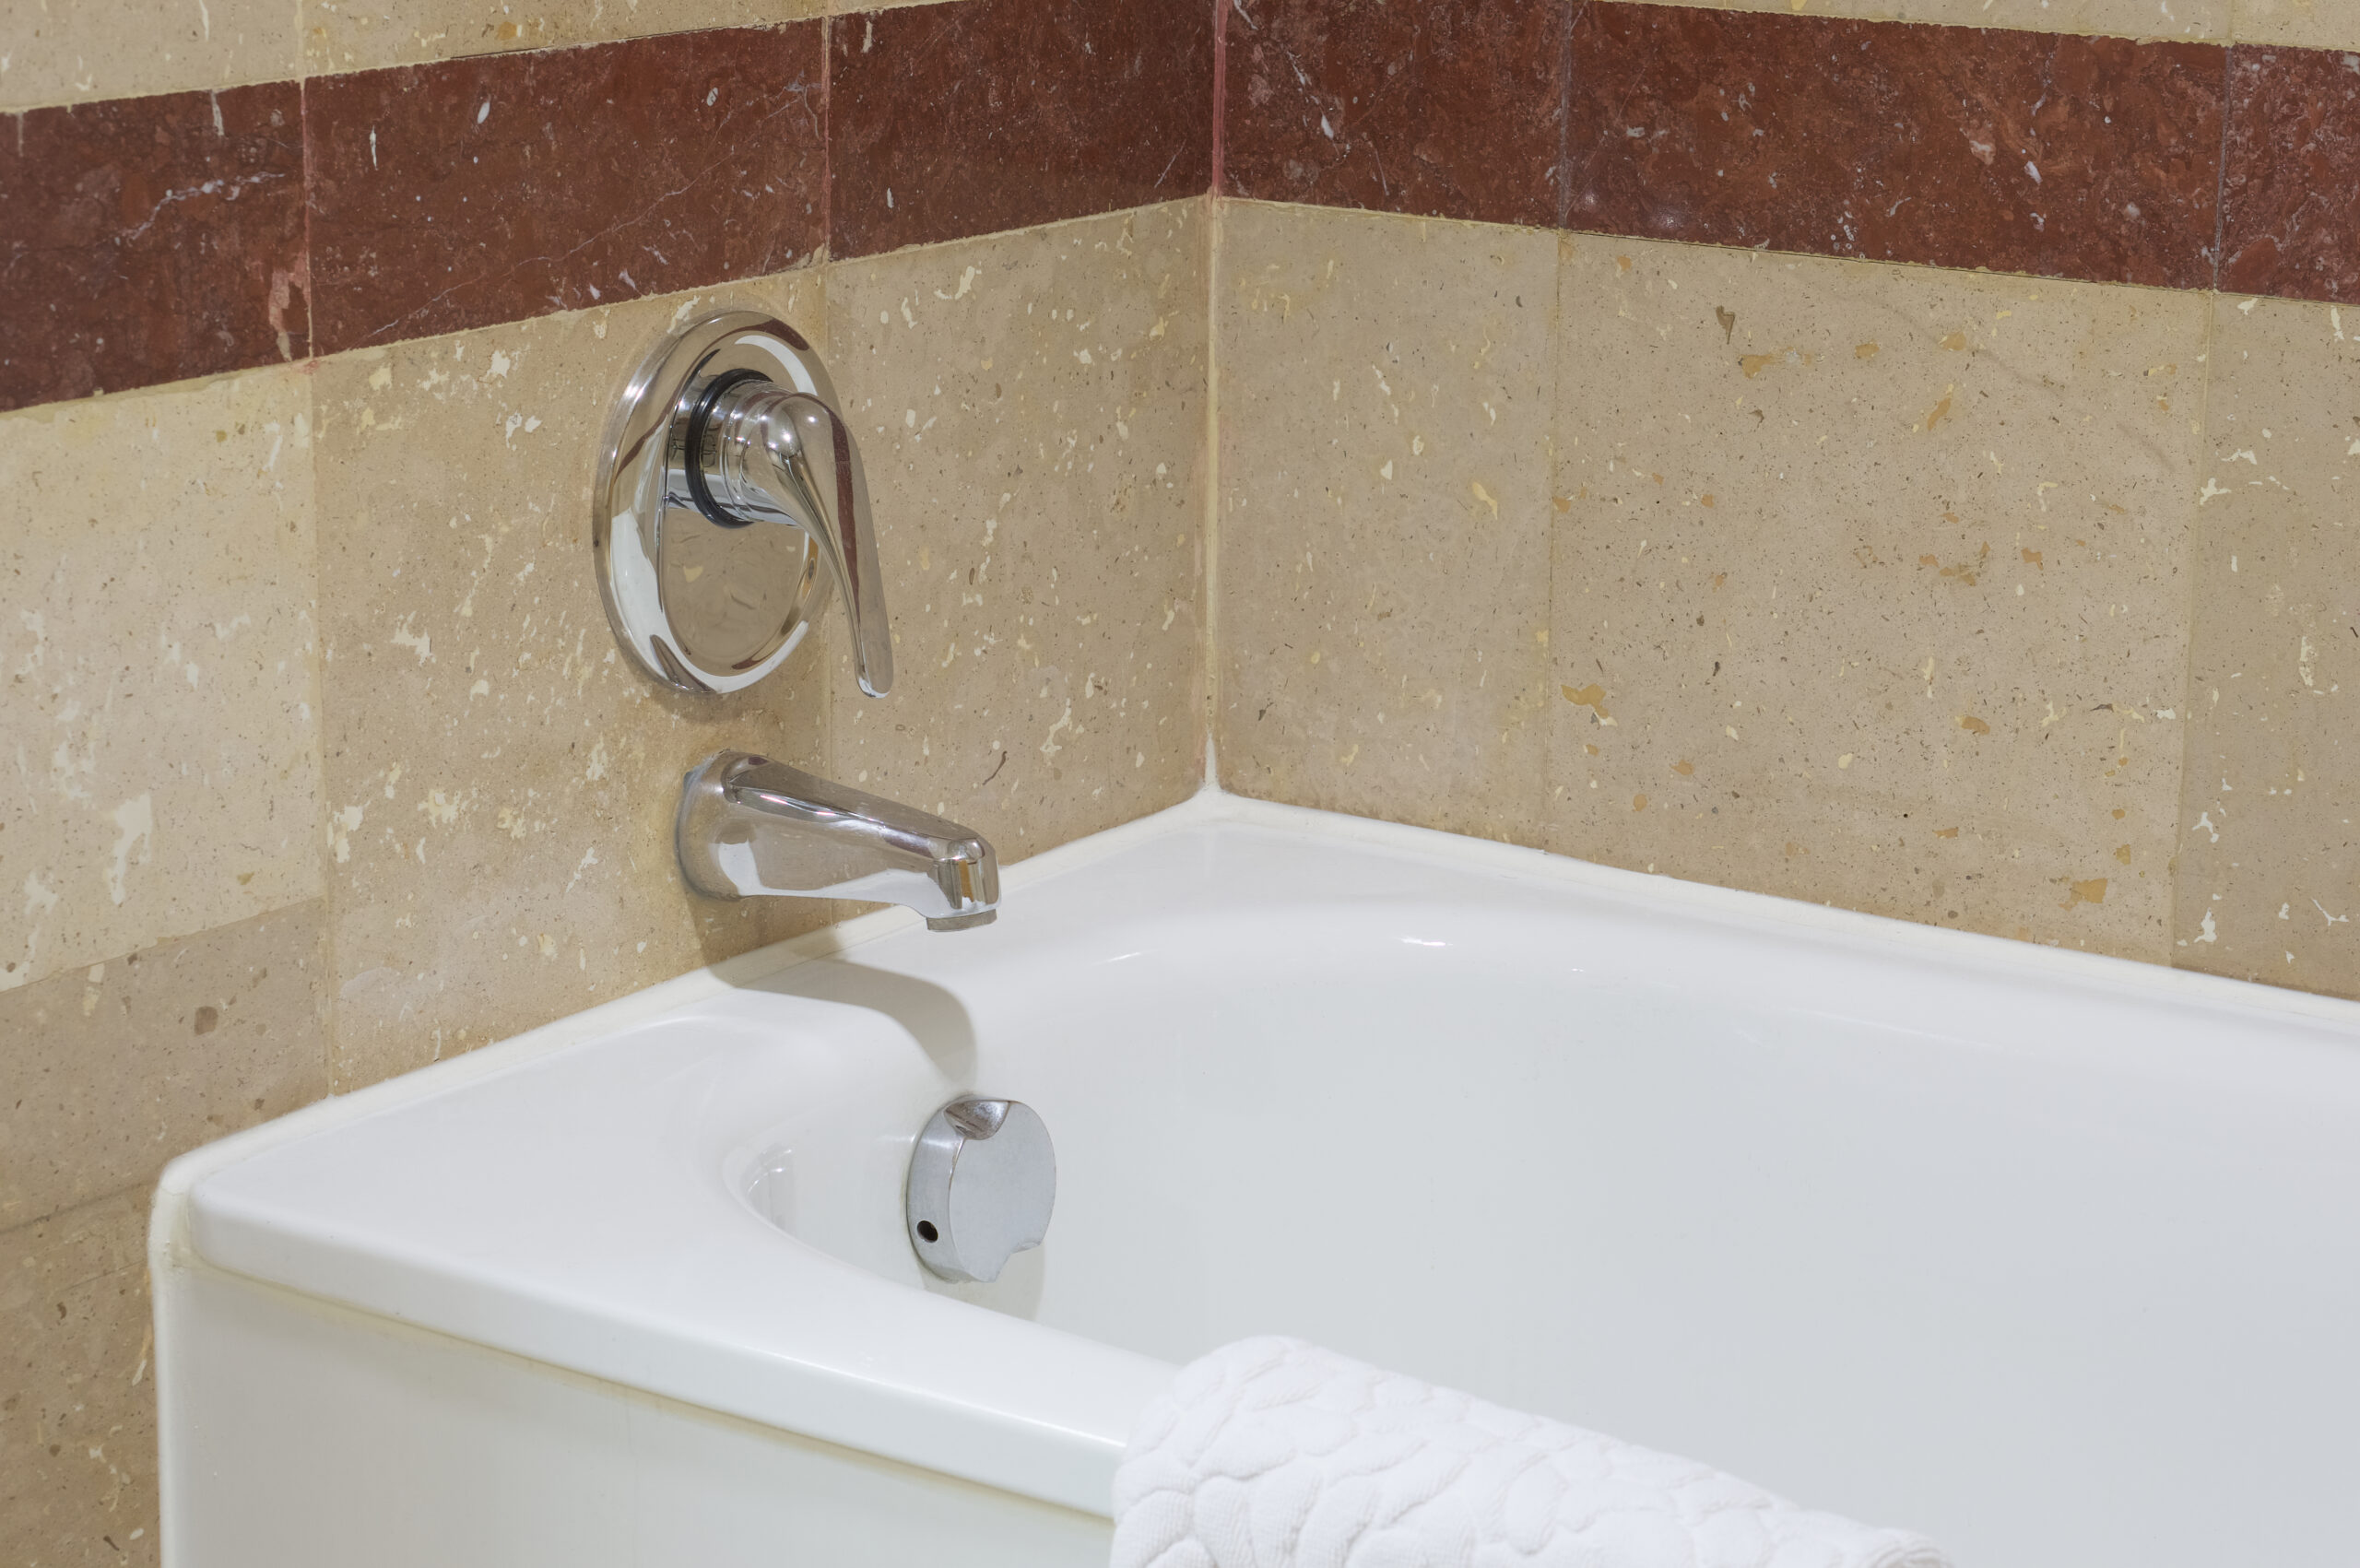
Replacing a bathtub faucet can significantly update the look of your bathroom and fix leaks or functionality issues. While it might seem like a complex task, many homeowners can successfully complete this DIY project with the right tools and a clear understanding of the steps involved. This guide will walk you through the process of replacing your bathtub faucet, from preparation to final checks, ensuring a smooth and leak-free installation.
Tools you’ll need
Before you begin, gather all the necessary tools and materials. Having everything ready will make the process much more efficient.
- Adjustable Wrenches: For tightening and loosening nuts. You might need two – one to hold the supply line, and one to turn the nut.
- Basin Wrench: Essential for reaching and tightening nuts in tight spaces behind the tub or sink, especially for faucet mounting nuts.
- Pliers (Channel Locks or Tongue-and-Groove): For gripping and turning pipes and nuts.
- Screwdrivers (Phillips and Flathead): For removing handles, escutcheons, and other components.
- Utility Knife or Caulk Scraper: For removing old caulk or sealant.
- Wire Brush or Scouring Pad: For cleaning old sealant residue.
- Plumber’s Putty: For creating a watertight seal around the new faucet’s base or drain components.
- Silicone Sealant (Kitchen & Bath Grade, Mildew Resistant): For sealing the new faucet trim plate to the tub or wall.
- Thread Seal Tape (PTFE Tape/Teflon Tape): For sealing threaded pipe connections.
- Flashlight or Headlamp: For better visibility in dark spaces under the tub or behind the wall.
- Bucket and Rags: For catching residual water and cleaning up spills.
- Safety Glasses and Gloves: Always wear protective gear.
- New Bathtub Faucet Assembly: Ensure it includes all necessary components (spout, handles, valve, and any mounting hardware).
Turning off water and removing the old faucet
This is the most crucial preliminary step to prevent water damage.
- Turn Off Water Supply:
- Locate the main water shut-off valve for your house (usually in the basement, utility closet, or near the water meter).
- Turn off both the hot and cold water supply. If your bathroom has dedicated shut-off valves for the tub/shower, turn those off first.
- Important: Even after turning off the water, open the lowest faucet in your house (e.g., a basement utility sink) and the old bathtub faucet to drain any remaining water from the pipes.
- Access the Faucet Plumbing:
- For deck-mounted faucets (installed on the tub rim), access is usually from underneath the tub, often through an access panel in the wall or ceiling below.
- For wall-mounted faucets (most common for tub/shower combos), access is typically through an access panel on the opposite side of the bathroom wall, or you may need to cut into the drywall behind the faucet.
- Remove Old Faucet Handles and Trim:
- Use a screwdriver to remove any screws holding the handles or decorative escutcheons (trim plates) in place. Pry off any caps covering screws.
- Carefully pull off the handles and trim.
- Remove the Old Spout:
- Slip-on spouts: Look for a small screw on the underside of the spout near the wall. Loosen or remove it, then pull the spout straight off.
- Threaded spouts: Twist the spout counter-clockwise to unthread it from the pipe.
- Disconnect Supply Lines (if applicable for deck-mount):
- If you have a deck-mounted faucet with individual hot and cold supply lines, use adjustable wrenches to disconnect them from the shut-off valves and the faucet body.
- Remove the Old Faucet Body/Valve:
- From the access point, use a basin wrench or adjustable wrench to loosen and remove the large mounting nuts or clips securing the faucet body or valve to the tub deck or wall framing.
- Carefully pull the old faucet assembly out.
- Clean the Area:
- Scrape away any old caulk, plumber’s putty, or sealant from the tub deck, wall, and around the drain opening (if replacing the overflow/drain assembly). Use a utility knife or caulk scraper, then clean with a wire brush or scouring pad. The surface should be clean and dry before installing the new faucet.
Installing the new faucet and sealants
Now that the old faucet is out, you can install the new one. Always follow the manufacturer’s specific instructions for your new faucet, as designs can vary.
- Prepare the New Faucet:
- If your new faucet requires assembly (e.g., handles need to be attached to the valve body), do so now according to the manufacturer’s instructions.
- Apply a bead of plumber’s putty around the underside of the new spout’s base, or if it has a rubber gasket, ensure it’s properly seated.
- Install the New Spout:
- Slip-on spouts: Push the new spout firmly onto the pipe, ensuring it’s flush with the wall/tub. Secure it with the set screw on the underside.
- Threaded spouts: Apply thread seal tape (PTFE tape) clockwise around the threads of the pipe coming from the wall. Thread the new spout onto the pipe, hand-tightening first, then using a wrench if necessary, ensuring it’s straight and snug.
- Install the New Faucet Body/Valve (Deck-Mount or Wall-Mount):
- Deck-Mount: Insert the new faucet body into the pre-drilled holes in the tub deck. From underneath, secure it with the rubber gasket, metal washer, and mounting nut(s). Use a basin wrench to tighten securely, ensuring the faucet is straight.
- Wall-Mount (Valve): If replacing the rough-in valve behind the wall, this is a more complex task that often involves soldering or specialized connections. It’s highly recommended to consult a plumber for valve replacement. If just replacing the trim, ensure the new trim plate (escutcheon) has a bead of silicone sealant on its back edge before mounting it flush to the wall. Secure the trim and handles according to the manufacturer’s instructions.
- Connect Supply Lines (for Deck-Mount Faucets):
- Attach the new flexible hot and cold supply lines to the corresponding inlets on the underside of the faucet body. Hand-tighten, then use an adjustable wrench for a final quarter-turn. Do not overtighten.
- Connect the other ends of the supply lines to the hot and cold shut-off valves. Again, hand-tighten, then a final quarter-turn with a wrench.
- Seal Trim Plates:
- For wall-mounted trim plates or escutcheons, apply a thin bead of silicone sealant around the perimeter where the plate meets the wall or tub. This prevents water from seeping behind the wall. Smooth the bead with a wet finger for a clean finish.
Checking for leaks and functionality
Once everything is installed, it’s time to test your work.
- Double-Check All Connections: Before turning on the water, visually inspect every nut and connection point to ensure they are snug.
- Slowly Turn On Water: Gradually turn on the main water supply (or the dedicated bathroom shut-off valves). Listen for any immediate drips or hisses.
- Inspect for Leaks:
- Carefully check around the base of the spout and handles for any water seepage.
- For deck-mounted faucets, run your hand along the entire length of the supply lines, feeling for moisture at both the faucet and shut-off valve connections.
- Look closely at any connections behind the wall or under the tub.
- Test Faucet Functionality:
- Turn on the hot and cold water at the faucet. Check for proper water flow and temperature mixing.
- Operate the diverter (if it’s a tub/shower combo) to ensure water diverts correctly to the showerhead.
- Let the water run for a few minutes, continuously checking for any new leaks.
- Fill and Drain Tub: Fill the tub with water and then drain it completely. While it’s draining, inspect the overflow and drain connections for any leaks.
- Troubleshooting Leaks:
- Minor Drip at a Nut: Gently tighten the nut a bit more. Do not overtighten, especially on plastic components.
- Persistent Drip: If tightening doesn’t work, you may need to disassemble the connection, inspect the washer or O-ring for damage or improper seating, replace if necessary, apply more thread seal tape or plumber’s putty, and reassemble.
- Leak from Faucet Base: If you used plumber’s putty, it might need more compression from the mounting nut underneath. If a rubber gasket, ensure it’s flat and not pinched.
- Leak from Wall/Behind Tub: This is more serious. It could indicate a problem with the valve itself or a connection that’s hard to reach.
When to call a plumber
While many faucet replacements are DIY-friendly, there are situations where calling a licensed plumber is the safest and most efficient option.
- Valve Replacement: If you need to replace the entire rough-in valve behind the wall (not just the trim), this typically involves cutting into walls, soldering pipes, or making complex connections. This is best left to a professional.
- Pipe Modifications: If your new faucet requires significant changes to your existing copper, PEX, or galvanized pipes (e.g., cutting, extending, rerouting), a plumber has the specialized tools and expertise.
- Persistent Leaks: If you’ve tried troubleshooting and leaks persist, especially from within the wall or inaccessible areas, a plumber can quickly diagnose and fix the issue.
- Water Damage: If you discover signs of water damage, mold, or rot behind the wall or under the tub, stop immediately and call a professional. These issues require proper remediation.
- Lack of Access: If you cannot access the plumbing behind your tub or shower without significant demolition, a plumber can advise on the best course of action.
- Unfamiliarity with Plumbing: If you are uncomfortable with basic plumbing tasks, or if the project seems beyond your skill level, it’s always safer to hire a professional to prevent costly mistakes.
- Local Code Compliance: Plumbers are knowledgeable about local building codes and can ensure your installation meets all necessary regulations.
By understanding these steps and knowing when to seek professional help, you can approach your bathtub faucet replacement project with confidence, resulting in a beautiful and functional upgrade to your bathroom.
Need expert assistance with your bathroom plumbing or a complete bathroom renovation? LA Home Builders specializes in comprehensive bathroom remodels, offering professional plumbing installation and repair services to ensure your project is completed safely, efficiently, and to the highest standards. Contact us today for a free consultation!