
Replacing an old or malfunctioning garage door opener can significantly improve the convenience and safety of your home. While it might seem daunting, a DIY replacement is achievable for handy homeowners with the right tools and a clear step-by-step guide.
Tools & prep: power off, remove old unit
- Gather Tools: You’ll need a ladder, wrenches (socket and open-end), screwdrivers, pliers, wire cutters, a measuring tape, level, stud finder, and potentially a drill.
- Safety First: Crucially, unplug the existing garage door opener from the power outlet. If it’s hardwired, turn off the corresponding circuit breaker in your electrical panel.
- Disengage Door: Pull the emergency release cord to detach the garage door from the opener carriage. Manually open the garage door fully and prop it up securely with vice grips or C-clamps on the track just below the rollers. This prevents the door from falling unexpectedly.
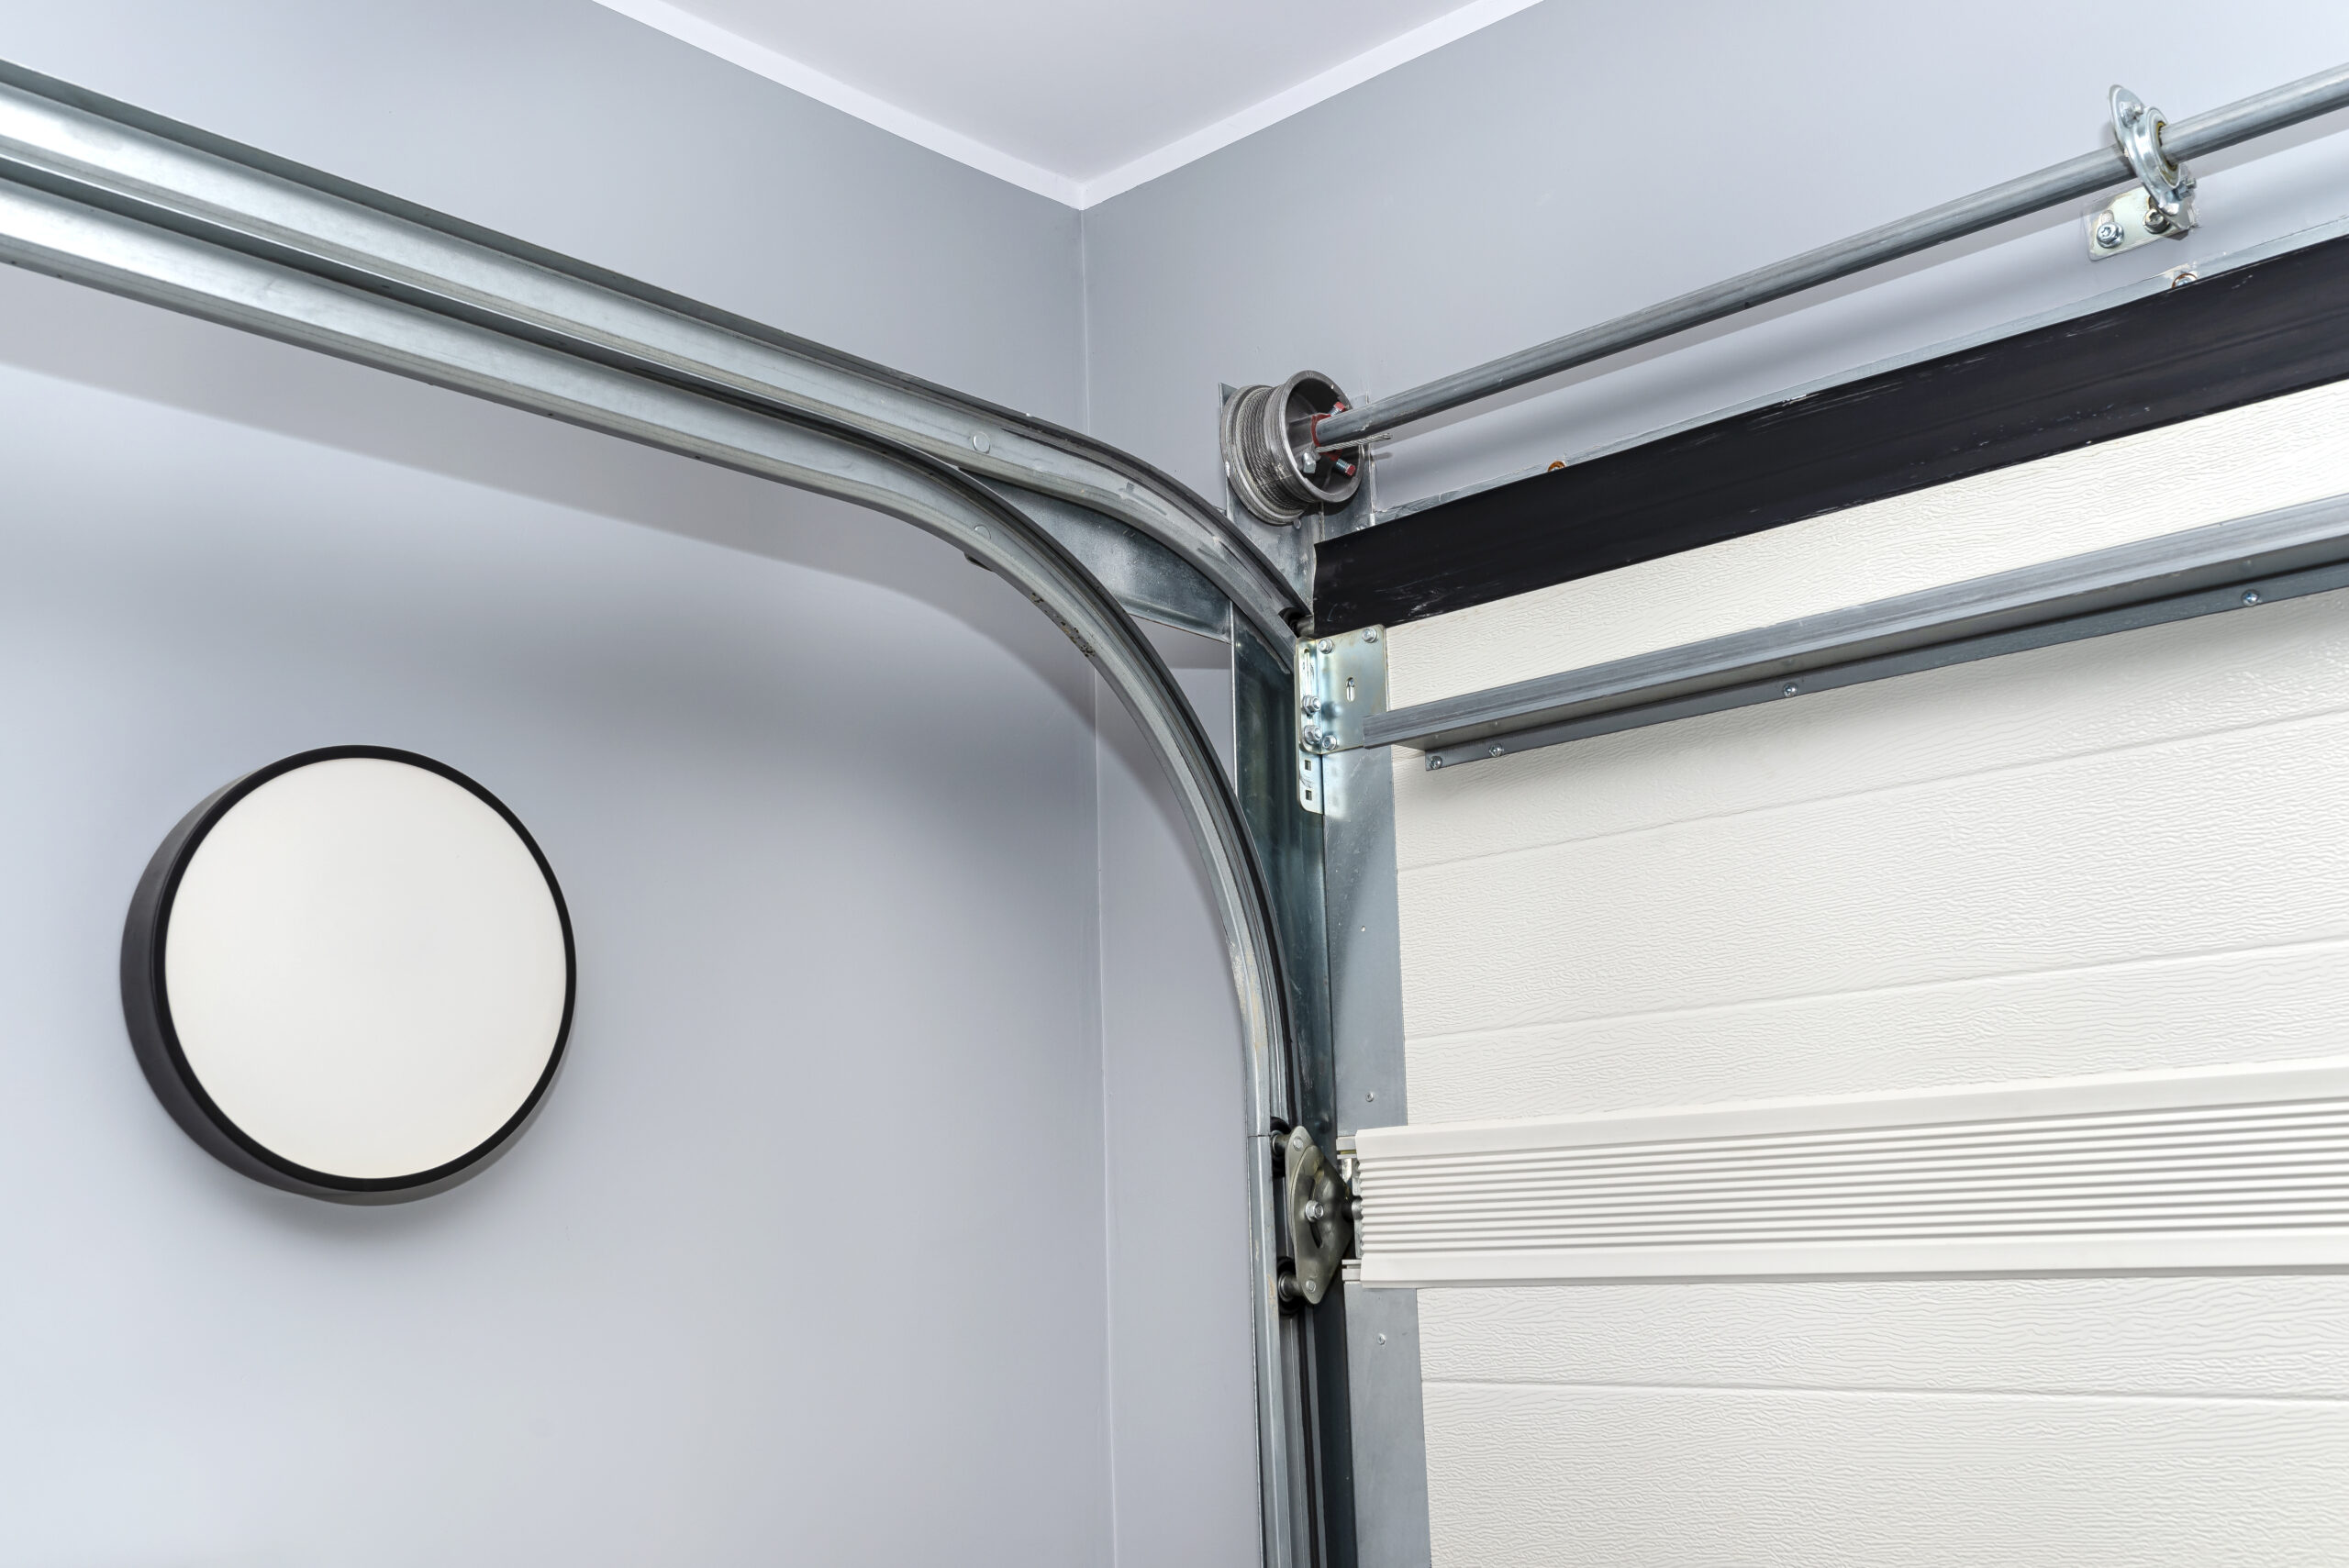
- Remove Old Unit:
- Disconnect Wiring: Disconnect the wires for the safety sensors, wall button, and power.
- Remove Rails: Unbolt the rail assembly from the header bracket (above the garage door) and the motor unit.
- Lower Motor Unit: Unbolt the motor unit from the ceiling mounting brackets. Have a helper ready to support the weight as you unbolt it. Carefully lower the entire unit to the floor.
Replace rails & belt/chain carriage
- Assemble New Rail: Unpack your new garage door opener and assemble the rail system according to the manufacturer’s instructions. This usually involves connecting several rail sections.
- Attach Belt/Chain: If your unit uses a belt or chain drive, thread it through the rail and attach it to the trolley (carriage) that moves along the rail. Ensure it’s correctly tensioned as per instructions.
- Mount New Rail:
- Attach to Motor Unit: Connect the assembled rail to the new motor unit.
- Attach to Header Bracket: Secure the front end of the rail (the end opposite the motor unit) to the header bracket above the garage door opening. Use the existing bracket if it’s sturdy, or install the new one provided. Ensure it’s centered.
- Support Rods: Attach the hanging support rods from the ceiling to the rail. Use a level to ensure the rail is perfectly straight and level from the header to the motor unit. The rail should typically be slightly higher than the highest point of the garage door’s travel.
Mount new motor unit securely
- Lift Motor Unit: With a helper, lift the new motor unit (with the rail attached) into position on the ceiling.
- Secure to Ceiling Brackets: Attach the motor unit to the existing ceiling mounting brackets. If the old brackets aren’t compatible or sturdy enough, install the new ones provided by the manufacturer. Use robust lag screws driven into ceiling joists or proper blocking for secure mounting. Ensure the unit is centered with the garage door.
- Adjust Height: The motor unit should be positioned so that the rail is slightly pitched downwards towards the garage door (about 1-2 inches per 10 feet of rail) to help with drainage and smooth operation. Use the adjustable ceiling brackets to achieve this.
Align and install safety sensors
- Mount Sensors: Install the new safety sensors on either side of the garage door track, about 4-6 inches above the floor, as per the manufacturer’s instructions. Ensure they are directly opposite each other.
- Connect Wiring: Run the low-voltage wires from the sensors to the motor unit and connect them to the designated terminals.
- Align Sensors: Crucially, align the sensors so that the invisible beam between them is uninterrupted. Most units have an LED light on each sensor that illuminates when properly aligned. Adjust them until both lights are on and steady. This is a vital safety feature that prevents the door from closing on obstructions.
Program remotes & keypad
- Connect Wall Button: Connect the low-voltage wires from the wall-mounted control button to the motor unit.
- Restore Power: Plug the garage door opener back into the power outlet or turn the circuit breaker back on.
- Program Remotes: Follow the manufacturer’s specific instructions to program your remote controls and any wireless keypad. This typically involves pressing a “learn” button on the motor unit, then pressing a button on the remote.
Test operation & troubleshoot
- Manually Lower Door: Manually lower the garage door until it is about halfway closed.
- Engage Door to Opener: Re-engage the garage door to the opener’s trolley (carriage) by reattaching the emergency release cord mechanism.
- Set Travel Limits: This is critical. Use the up/down limit adjustment screws or buttons on the motor unit (refer to your manual!) to program how far the door opens and closes. This ensures the door stops at the correct positions without putting undue strain on the opener or the door itself.
- Set Force Settings: Adjust the up/down force settings (usually dials or buttons) to ensure the door reverses if it encounters an obstruction. Test the safety reverse feature: Place a 2×4 flat on the floor in the door’s path. The door should reverse when it hits the 2×4. If not, immediately adjust the force setting until it does. This is a life-saving safety feature.
- Test Remote and Wall Button: Ensure all controls operate the door smoothly.
Tips: liftmaster vs belt-drive noise, helpers, clearance
- Belt-Drive vs. Chain-Drive:
- Belt-Drive: Quieter operation, ideal if you have living space above the garage. Often more expensive.
- Chain-Drive: More affordable, but can be noisier. Very durable.
- Get a Helper: You will absolutely need a second person to safely remove the old unit and install the new one, especially when lifting the heavy motor unit and rail assembly.
- Maintain Clearance: Ensure there is at least 2 inches of clearance between the top of the garage door and the lowest point of the ceiling. For larger doors, more clearance might be needed.
- Lubricate: While installing, lubricate the garage door’s rollers, hinges, and springs (NOT the tracks) to ensure smooth and quiet operation.
- Read the Manual: This guide is a general overview. Always follow your specific opener’s instruction manual meticulously.
LA Home Builders offers expert garage door opener installation and repair services for homes across Los Angeles. While DIY can be rewarding, our professional team ensures a safe, efficient, and perfectly calibrated installation, providing peace of mind and optimal performance for your garage.