
Ceiling cracks can be unsightly and, if left unaddressed, can sometimes indicate underlying issues. While some cracks are purely cosmetic, repairing them properly can restore the smooth appearance of your ceiling and prevent them from worsening. This guide focuses on quick fixes for common, non-structural drywall cracks.
Identify if crack is cosmetic or structural
Before attempting a repair, it’s crucial to determine the nature of the crack:
- Cosmetic Cracks: These are usually hairline cracks, spiderweb cracks, or minor stress cracks that run along drywall seams or corners. They often result from house settling, humidity changes, or minor drywall movement. They are typically stable and don’t grow rapidly.
- Structural Cracks: These are wider (1/8 inch or more), run across the ceiling, sometimes extend down walls, or show signs of bowing/sagging. They may indicate more serious foundation issues, excessive moisture, or framing problems. If you suspect a structural crack, consult a qualified contractor or structural engineer immediately before attempting any repair. This guide is only for cosmetic cracks.
Prep: clean fissure, remove flaking
- Clear Area & Protect Floor: Move furniture and lay down drop cloths to protect your floor and belongings from dust and debris.
- Safety Gear: Wear a dust mask and safety glasses.
- Widen (Slightly): For very fine hairline cracks, use a utility knife or the edge of a putty knife to slightly widen the crack into a shallow V-shape. This provides more surface area for the joint compound to adhere to.
- Clean the Fissure: Use a vacuum cleaner nozzle or a damp cloth to thoroughly clean out any dust, debris, or loose material from inside the crack.
- Remove Flaking: Use a putty knife or scraper to gently remove any loose or flaking paint or drywall paper from around the crack. Ensure the edges are smooth and secure.
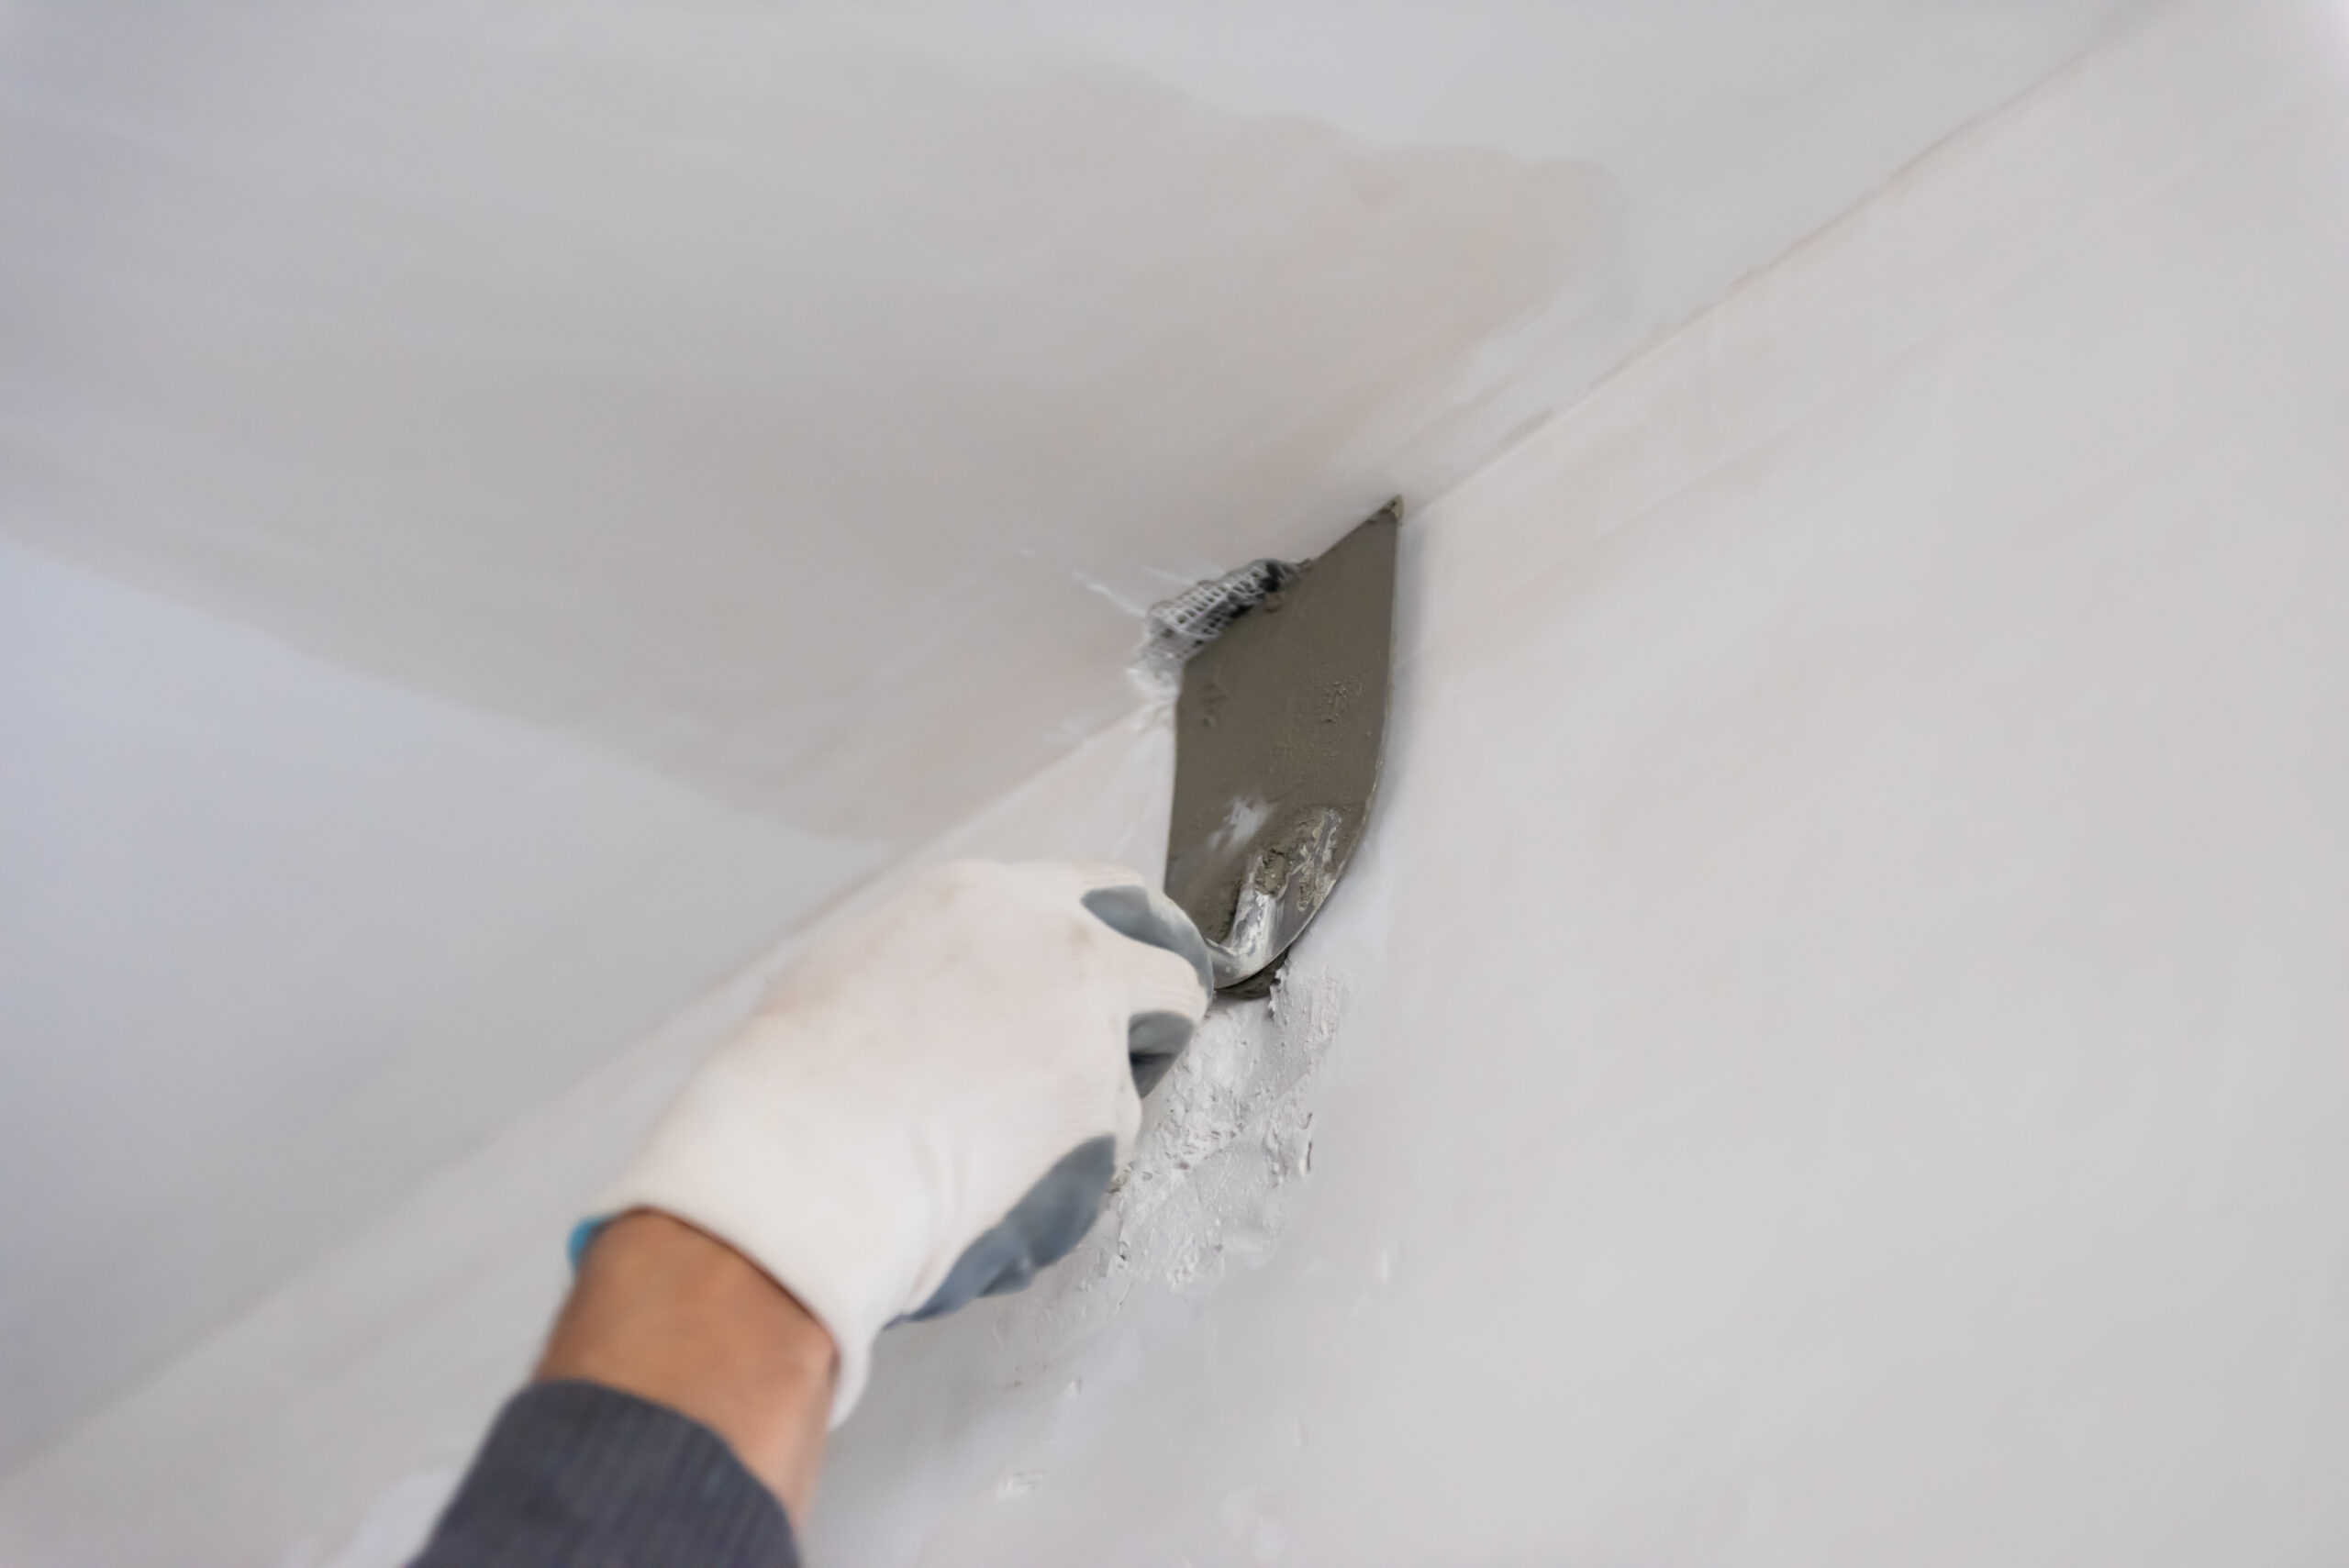
Tape with fiberglass or paper drywall tape
- Fiberglass Mesh Tape (Self-Adhesive):
- Pros: Easy to use, self-adhesive, strong, good for minor cracks.
- Application: Simply press the mesh tape directly over the crack, ensuring it covers the entire length and extends slightly beyond.
- Paper Drywall Tape:
- Pros: Very strong, excellent for preventing future cracks, creates a very smooth finish.
- Application: Apply a thin, even layer of all-purpose joint compound over the crack. Immediately embed the paper tape into the wet compound, pressing it firmly with a putty knife to remove air bubbles. Ensure the tape is fully covered.
Apply joint compound in layers
- First Coat (Bed Coat):
- Using a 6-inch or 8-inch drywall knife, apply a thin, even layer of all-purpose joint compound (sometimes called “mud”) over the tape.
- Feather the edges by applying pressure to the outer edges of the knife, creating a wider, tapered patch that blends smoothly with the surrounding ceiling.
- Allow to dry completely (check manufacturer’s instructions, typically 4-24 hours).
- Second Coat (Finish Coat):
- Once the first coat is completely dry, lightly sand any ridges or imperfections. Wipe off dust.
- Apply a second, slightly wider, and thinner coat of joint compound. Use a wider knife (e.g., 10-inch or 12-inch) to further feather the edges, making the repair less noticeable.
- Allow to dry completely.
- Third Coat (Optional Smooth Coat): For a perfectly smooth finish, a very thin third coat might be necessary. This is often called a “skim coat.” Allow to dry.
Sand and feather edges
- Final Sanding: Once all joint compound layers are completely dry, sand the patched area until it is perfectly smooth and blends seamlessly with the surrounding ceiling. Use fine-grit sandpaper (150-220 grit) or a sanding screen.
- Pole Sander: For ceilings, a pole sander can make this job easier and more ergonomic.
- Dust Removal: Thoroughly wipe away all sanding dust with a damp cloth. The cleaner the surface, the better the primer and paint will adhere.
Reapply texture to match ceiling
This is a crucial step for textured ceilings common in many Los Angeles homes.
- Identify Texture: Determine the type of texture on your ceiling (e.g., popcorn, orange peel, knockdown, skip trowel).
- Texture Matching:
- Spray Textures (Popcorn, Orange Peel): Use aerosol texture sprays. Practice on a scrap piece of cardboard first to get the hang of it. Apply in light, even coats.
- Troweled/Knockdown Textures: Requires skill. You may need to use thinned joint compound and a specialized texture roller or trowel to mimic the existing pattern. Practice is key here.
- Professional Help: If your ceiling has a complex or specific texture, it’s often worth hiring a professional to ensure a seamless match.
Prime & paint to finish
- Prime the Repaired Area: Apply a high-quality drywall primer (PVA primer is common) over the entire patched and textured area. Primer ensures consistent paint absorption, prevents flashing (where the patch shows through the paint), and promotes good adhesion. Allow primer to dry.
- Paint the Ceiling: Apply at least two coats of ceiling paint, feathering the edges to blend the repair with the rest of the ceiling. For best results, consider painting the entire ceiling from corner to corner to ensure uniform color and finish, especially if the existing paint is old or faded.
LA Home Builders provides expert drywall repair services, ensuring that ceiling cracks and imperfections are seamlessly fixed, leaving your Los Angeles home with a flawless finish. Trust our team for professional results that blend perfectly with your existing interiors.