


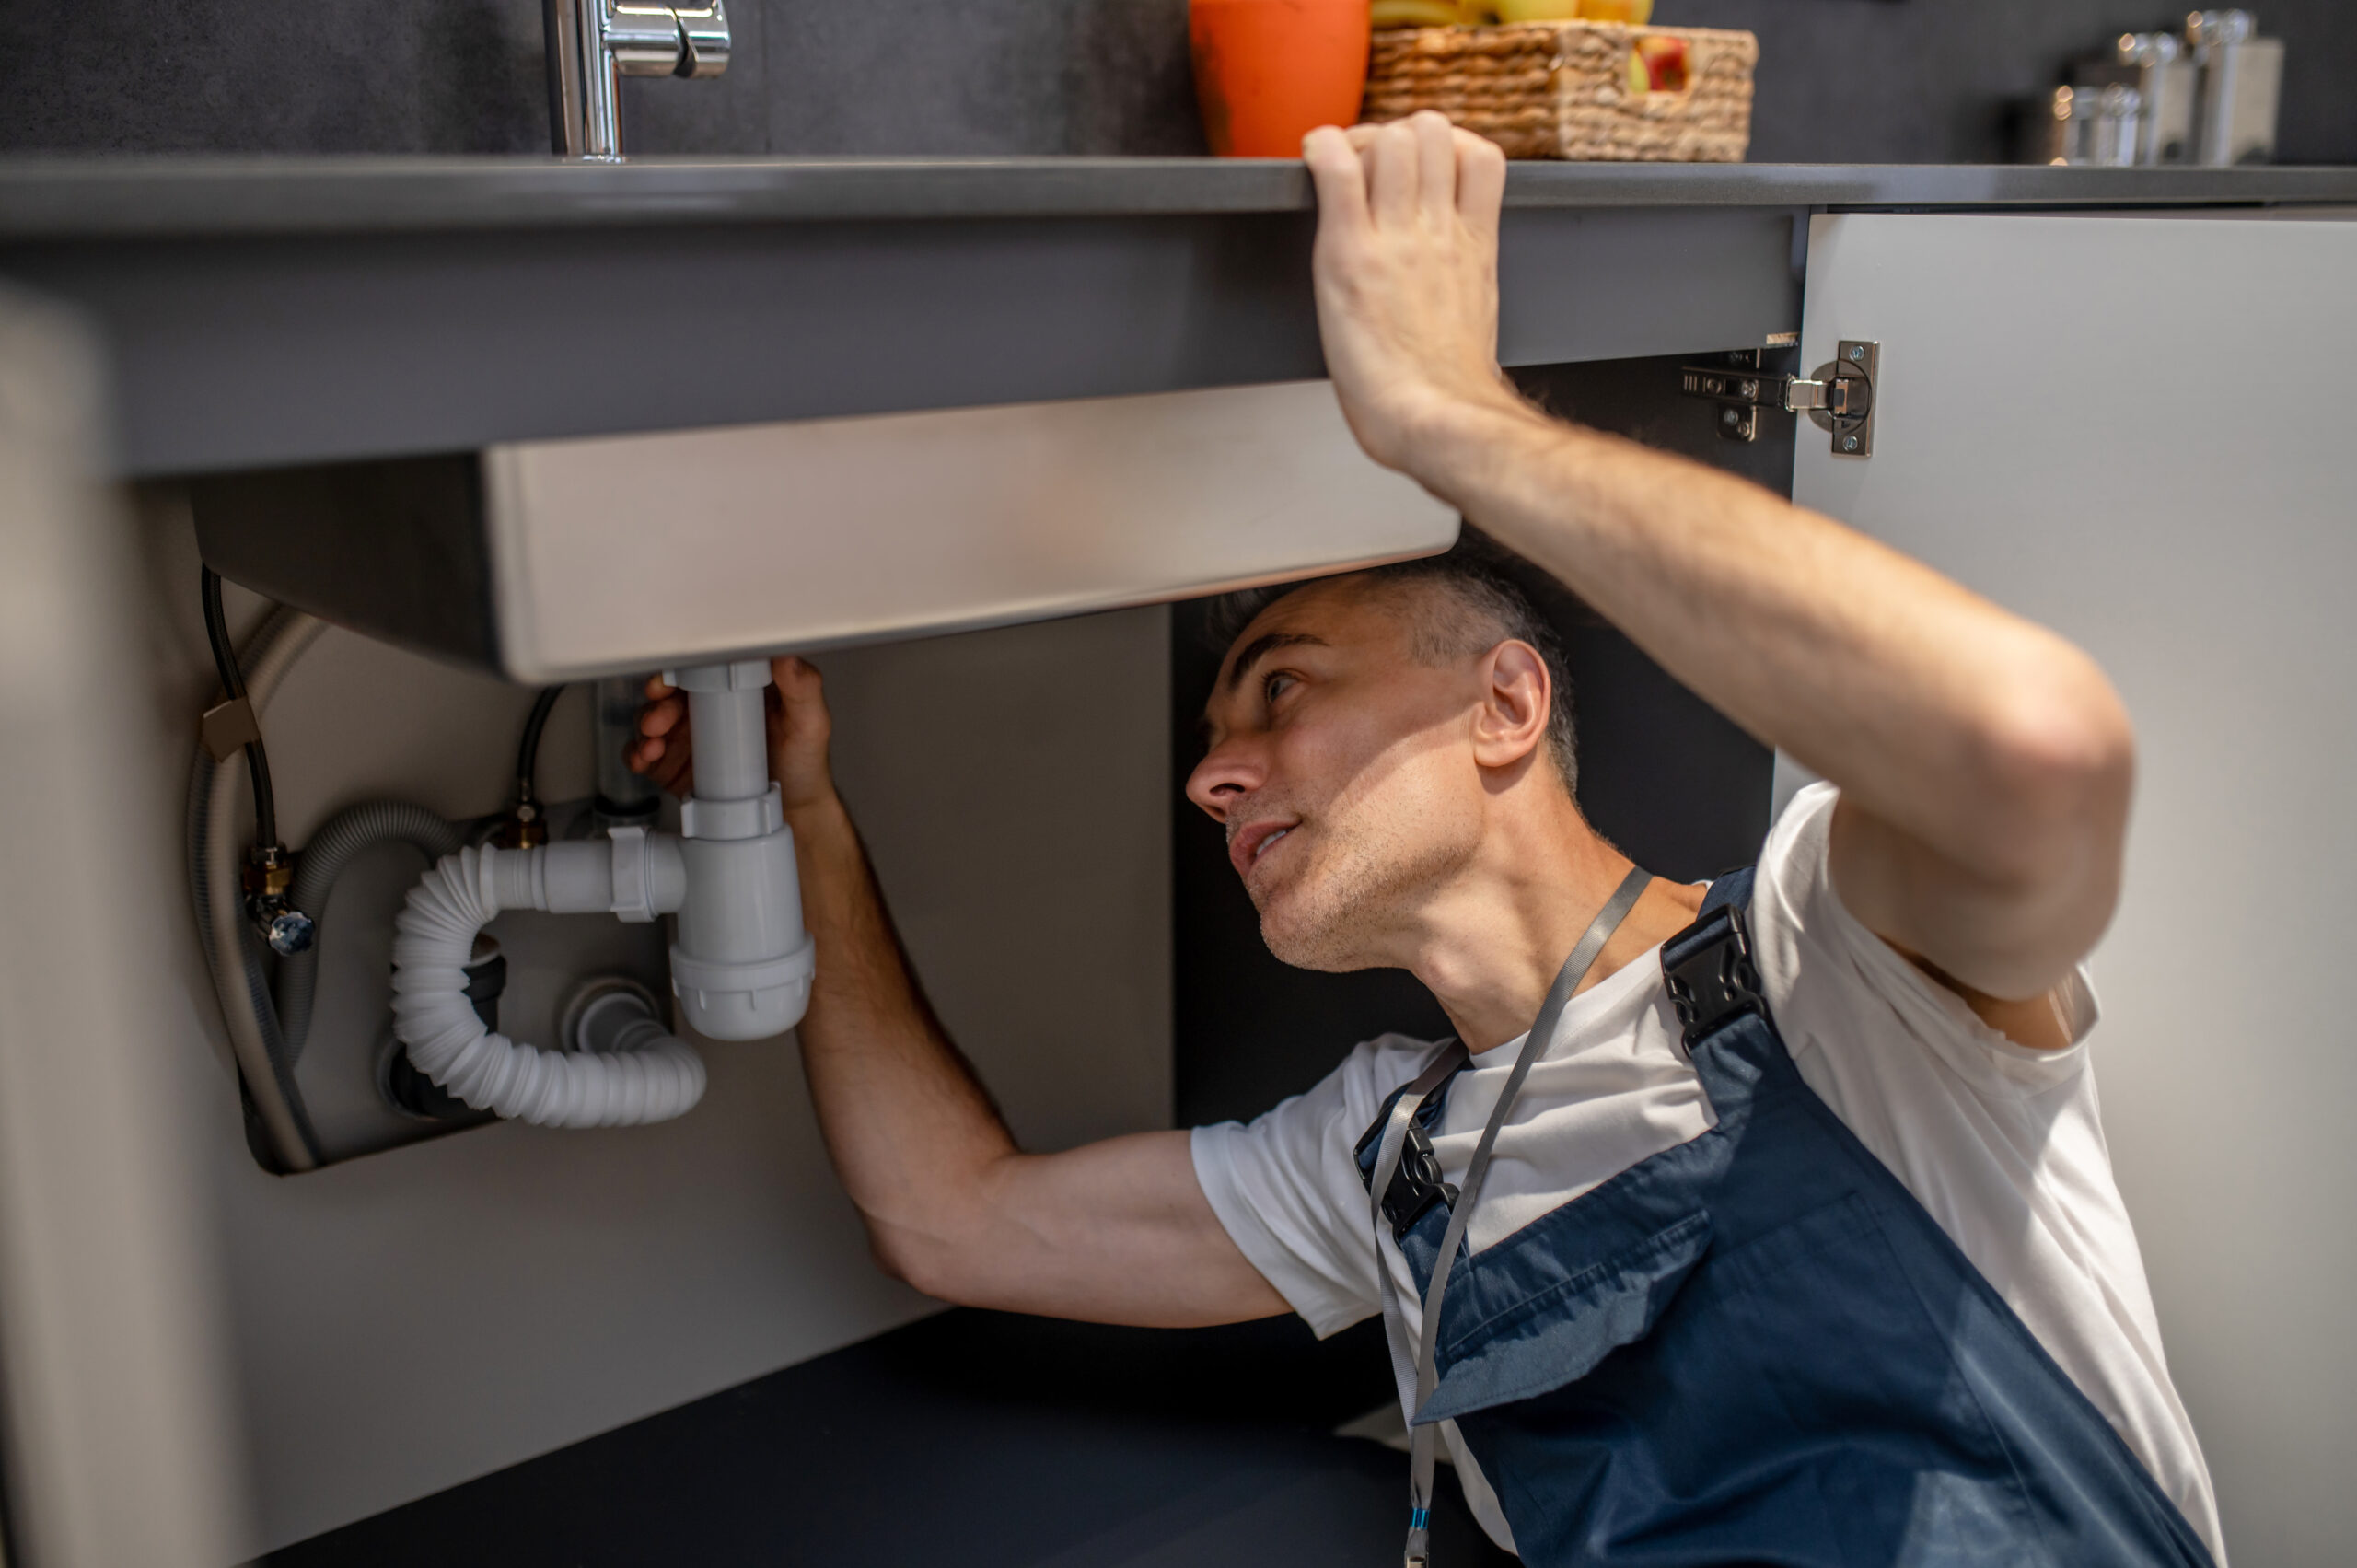
Properly plumbing a kitchen sink drain is essential for efficient wastewater removal and to prevent unpleasant sewer odors from entering your home. While it might seem like a complex task, understanding the components and following a step-by-step guide can make this a manageable DIY project for many homeowners. This guide will walk you through the process of installing or replacing a kitchen sink drain, focusing on the P-trap and connections to the wall drain, along with tips for double sink setups.
Parts and tools you’ll need
Before you begin, ensure you have all the necessary parts and tools. This will help you work efficiently and avoid interruptions.
Parts:
- Basket Strainer(s): One for each sink basin. This is the part that sits in the sink opening and connects to the drainpipe.
- Tailpiece: The vertical pipe that extends from the basket strainer (or garbage disposal) down to the P-trap.
- P-Trap Kit: This is the U-shaped pipe that holds water to create a seal against sewer gases. A standard kit usually includes the U-bend, a J-bend (or trap arm), and necessary slip nuts and washers.
- Continuous Waste Kit (for Double Sinks): A horizontal pipe assembly that connects the drains of two sink basins to a single P-trap.
- Waste Arm (or Branch Drainpipe): The horizontal pipe coming out of your wall, to which the P-trap connects. You may need an extension piece if the P-trap doesn’t reach.
- Slip Nuts and Washers: These are typically included with P-trap and continuous waste kits, but it’s good to have spares. They create watertight seals at connections.
- Optional: Garbage Disposal: If installing, it will replace one basket strainer and connect directly to the P-trap and the other sink’s drain (if a double sink).
Tools:
- Pliers (Channel Locks or Tongue-and-Groove): Essential for tightening slip nuts.
- Basin Wrench: Useful for tightening the large locknut on the basket strainer, especially in tight spaces.
- Plumber’s Putty: For creating a watertight seal around the basket strainer flange.
- Utility Knife or PVC Pipe Cutters: For cutting and trimming PVC drainpipes if adjustments are needed.
- Measuring Tape: For accurate measurements when cutting pipes.
- Level: To ensure proper slope in horizontal drainpipes.
- Bucket and Rags: For catching any residual water and cleaning up spills.
- Flashlight or Headlamp: For better visibility under the sink.
- Safety Glasses and Gloves: For personal protection.
Understanding the P-trap and drain line setup
The P-trap is the most critical component of your sink’s drain system. Understanding its function and how it connects is key to a successful installation.
- The P-Trap’s Purpose: The P-trap is the U-shaped bend in the drainpipe directly beneath your sink. Its primary function is to hold a small amount of water, creating a water seal that prevents noxious sewer gases from rising up through your drain and entering your home. It also serves as a catch basin for small items (like rings) that might accidentally fall down the drain, preventing them from going into the main plumbing system.
- How it Works with Venting: All plumbing drains require venting. A vent pipe (usually unseen, running up through your wall and roof) allows air into the drain system. This air prevents a vacuum from forming when water drains, which would otherwise siphon the water out of your P-trap, breaking the water seal and allowing sewer gases in.
- Basic Flow:
- Sink Basin: Water drains from the sink.
- Basket Strainer: Collects larger debris and connects the sink to the drainpipe.
- Tailpiece: The vertical pipe connecting the strainer to the P-trap.
- P-Trap: The U-shaped bend that holds the water seal.
- Waste Arm: The horizontal pipe extending from the P-trap into the wall, connecting to the main house drain system.
- Branch Drainpipe (in wall): Carries wastewater to the main stack.
Connecting to the wall drain
This section details the steps for assembling the drain components and connecting them to the main house drain.
- Install the Basket Strainer(s):
- Roll a thin rope of plumber’s putty and apply it around the underside of the basket strainer’s flange (the top rim that sits in the sink).
- Insert the strainer into the sink’s drain opening from above. Press down firmly.
- From underneath the sink, slide the rubber gasket, then the friction washer, and finally the large locknut onto the strainer’s threaded tailpiece.
- Hand-tighten the locknut, then use a basin wrench or large adjustable pliers to tighten it securely. Wipe away any excess plumber’s putty that squeezes out from above the sink.
- If installing a garbage disposal: Follow the manufacturer’s instructions to attach the disposal’s mounting assembly to the sink opening. This replaces the basket strainer. Remember to remove the knockout plug for the dishwasher drain if you have one connected to the disposal.
- Attach the Tailpiece:
- Connect the straight drain tailpiece to the bottom of the basket strainer (or the top of the garbage disposal’s drain outlet).
- Use a slip nut and a plastic or rubber washer. Hand-tighten the slip nut, then give it a final quarter-turn with pliers. Do not overtighten, as this can crack plastic pipes.
- Assemble the P-Trap:
- The P-trap typically comes in two or three pieces. Assemble the U-shaped bend and the J-bend (or trap arm) using slip nuts and washers.
- Connect the J-bend of the P-trap to the tailpiece coming down from the sink. Hand-tighten the slip nut.
- Connect to the Wall Drain (Waste Arm):
- Align the open end of the P-trap (the J-bend) with the horizontal drainpipe (waste arm) extending from the wall.
- Crucial: Ensure Proper Slope. The waste arm and any horizontal sections of the drainpipe must have a slight downward slope towards the wall drain (typically 1/4 inch per foot or 2 cm per meter). This allows gravity to assist drainage and prevents standing water in the pipes. Use a level to check the slope.
- Cut to Fit: If the P-trap or waste arm is too long, use a utility knife or PVC pipe cutters to trim them for a perfect fit. Measure carefully before cutting.
- Secure Connection: Connect the P-trap to the waste arm using a slip nut and washer. Hand-tighten, then give a final quarter-turn with pliers.
Testing for leaks and adjustments
Once all components are connected, it’s time to test the system for leaks.
- Double-Check All Connections: Before turning on the water, visually inspect every slip nut and connection point to ensure they are snug.
- Slowly Turn On Water: Gradually turn on the hot and cold water supply to the sink. Listen for any immediate drips or hisses.
- Inspect for Leaks:
- Carefully run your hand along the entire drain assembly, feeling for any moisture at each slip nut connection (basket strainer to tailpiece, tailpiece to P-trap, P-trap to waste arm).
- Look for drips or puddles in the bucket you placed underneath.
- Run Water in Sink:
- Fill the sink basin(s) halfway with water, then pull the stopper and let the water drain completely.
- While the water is draining, closely observe all drain connections for any signs of leaks. The pressure of the draining water can reveal leaks that weren’t apparent with just static water.
- Fill and Hold Test:
- For a more thorough test, fill the sink completely with water and let it sit for 5-10 minutes. This allows water to put sustained pressure on all seals.
- Then, release the stopper and observe for leaks during the entire drainage process.
- Troubleshooting Leaks:
- Minor Drip at a Slip Nut: Gently tighten the slip nut a bit more with pliers. Do not overtighten, especially on plastic components, as this can crack them.
- Persistent Drip: If tightening doesn’t stop the leak, disassemble that specific connection. Inspect the plastic or rubber washer inside the slip nut – it might be old, cracked, or misaligned. Replace the washer if necessary, ensure it’s seated correctly, and reassemble.
- Leak from Basket Strainer: If water is leaking from the top of the sink or around the strainer, the plumber’s putty might not have created a sufficient seal. You may need to remove the strainer, reapply fresh plumber’s putty, and reinstall it, ensuring the locknut is tightened securely.
Tips for double sink installations
Plumbing a double kitchen sink requires a “continuous waste” assembly to connect both basins to a single P-trap.
- Install Both Basket Strainers: Follow the steps above to install a basket strainer in each sink basin.
- Install Garbage Disposal (Optional): If you’re installing a garbage disposal, it typically goes on one side of the double sink. Install it according to the manufacturer’s instructions. Remember to remove the knockout plug for the dishwasher drain if connecting one.
- Assemble Continuous Waste:
- The continuous waste assembly consists of a horizontal pipe with inlets for both sink drains.
- Connect a tailpiece from one basket strainer (or the disposal outlet) to one inlet of the continuous waste.
- Connect a tailpiece from the second basket strainer to the other inlet of the continuous waste.
- Secure all connections with slip nuts and washers.
- Connect P-Trap to Continuous Waste:
- The P-trap will connect to the central outlet of the continuous waste assembly.
- Ensure the continuous waste has a slight downward slope towards the P-trap for proper drainage.
- Connect the P-trap to the wall drain (waste arm) as described in the “Connecting to the Wall Drain” section, ensuring the proper slope.
- Test Thoroughly: With a double sink, it’s even more important to test all connections meticulously. Fill both sinks, then drain them simultaneously and individually, checking for any leaks.
By carefully following these steps and paying attention to detail, you can successfully plumb your kitchen sink drain, ensuring a functional, leak-free system that serves your home for years to come.
Need professional help with your kitchen plumbing or a full kitchen renovation? LA Home Builders specializes in expert kitchen remodels, offering professional plumbing installation and repair services to ensure your project is completed safely, efficiently, and to the highest standards. Contact us today for a free consultation!